How to Make Homemade Candles: A Simple & Soulful DIY Guide
There’s something magical about lighting a candle you made with your own hands. The soft glow, the gentle scent, and the knowledge that every detail—from the color to the fragrance—is uniquely yours. Whether you’re looking to create a cozy atmosphere, thoughtful gifts, or a new creative hobby, homemade candles are a beautiful way to bring warmth into your life.
Ready to light up your creativity? Here’s how to make candles at home—simply, safely, and soulfully.
Table of Contents
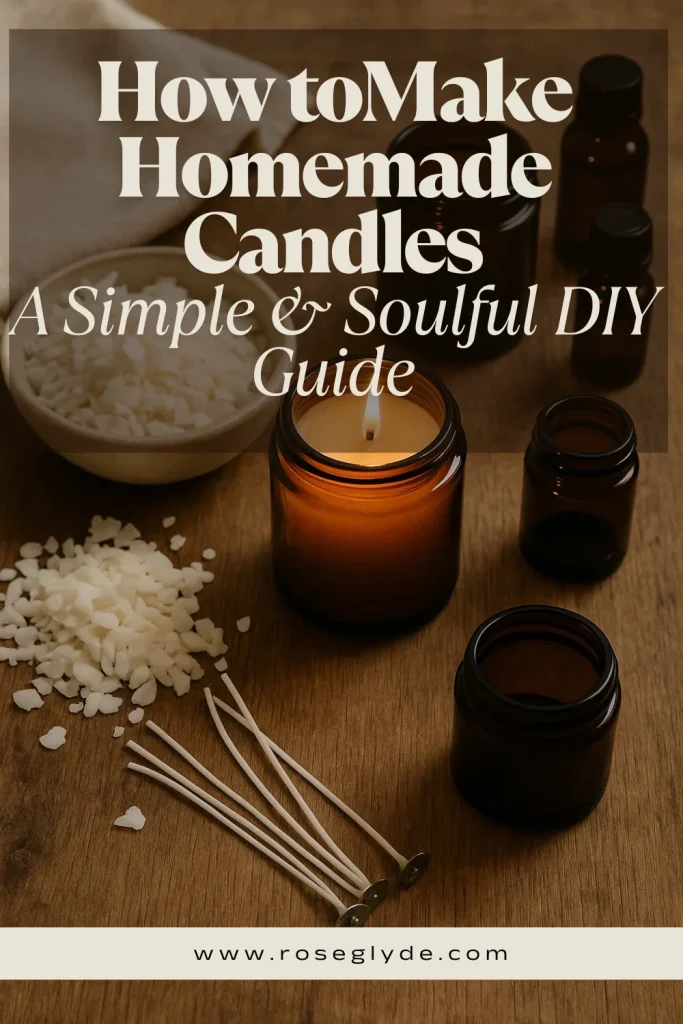
Why Homemade Candles Are Becoming So Popular
In recent years, homemade candles have become more than just a DIY craft. Many people are choosing to make their own candles because they enjoy creating personalized scents, selecting natural ingredients, and reducing waste by reusing jars and containers. Unlike many store-bought options, DIY candles allow you to control every ingredient that goes into the finished product.
Another reason people love homemade scented candles is their affordability. A single premium candle can cost a significant amount, while making candles at home often allows you to create multiple candles for the same budget. Plus, handmade candles make thoughtful gifts for birthdays, housewarmings, weddings, and holidays.
What You’ll Need:
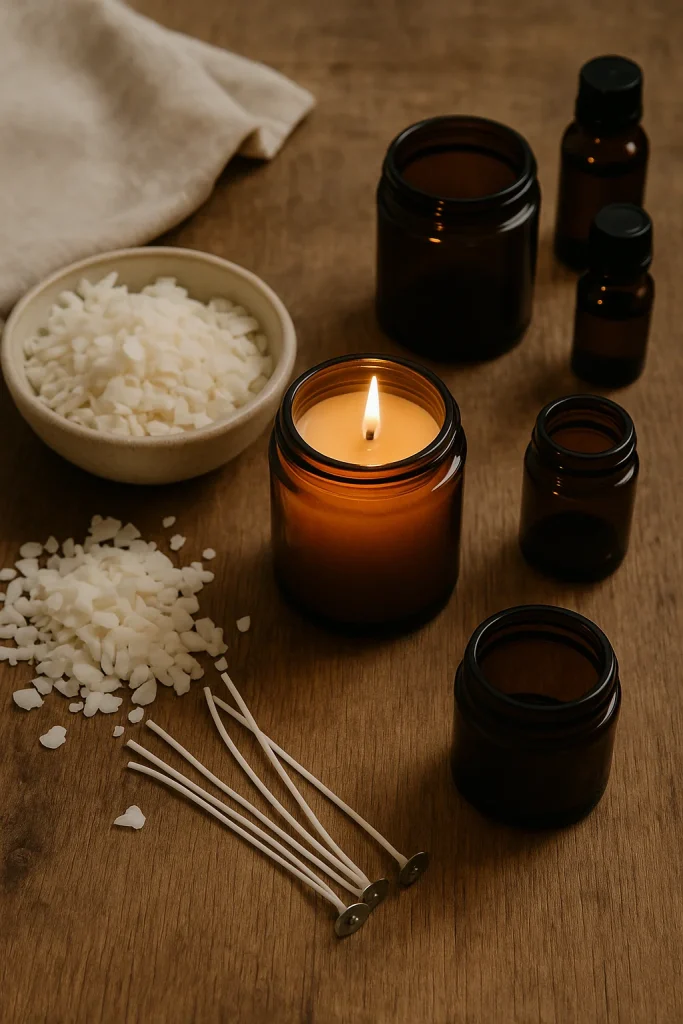
Basic Supplies:
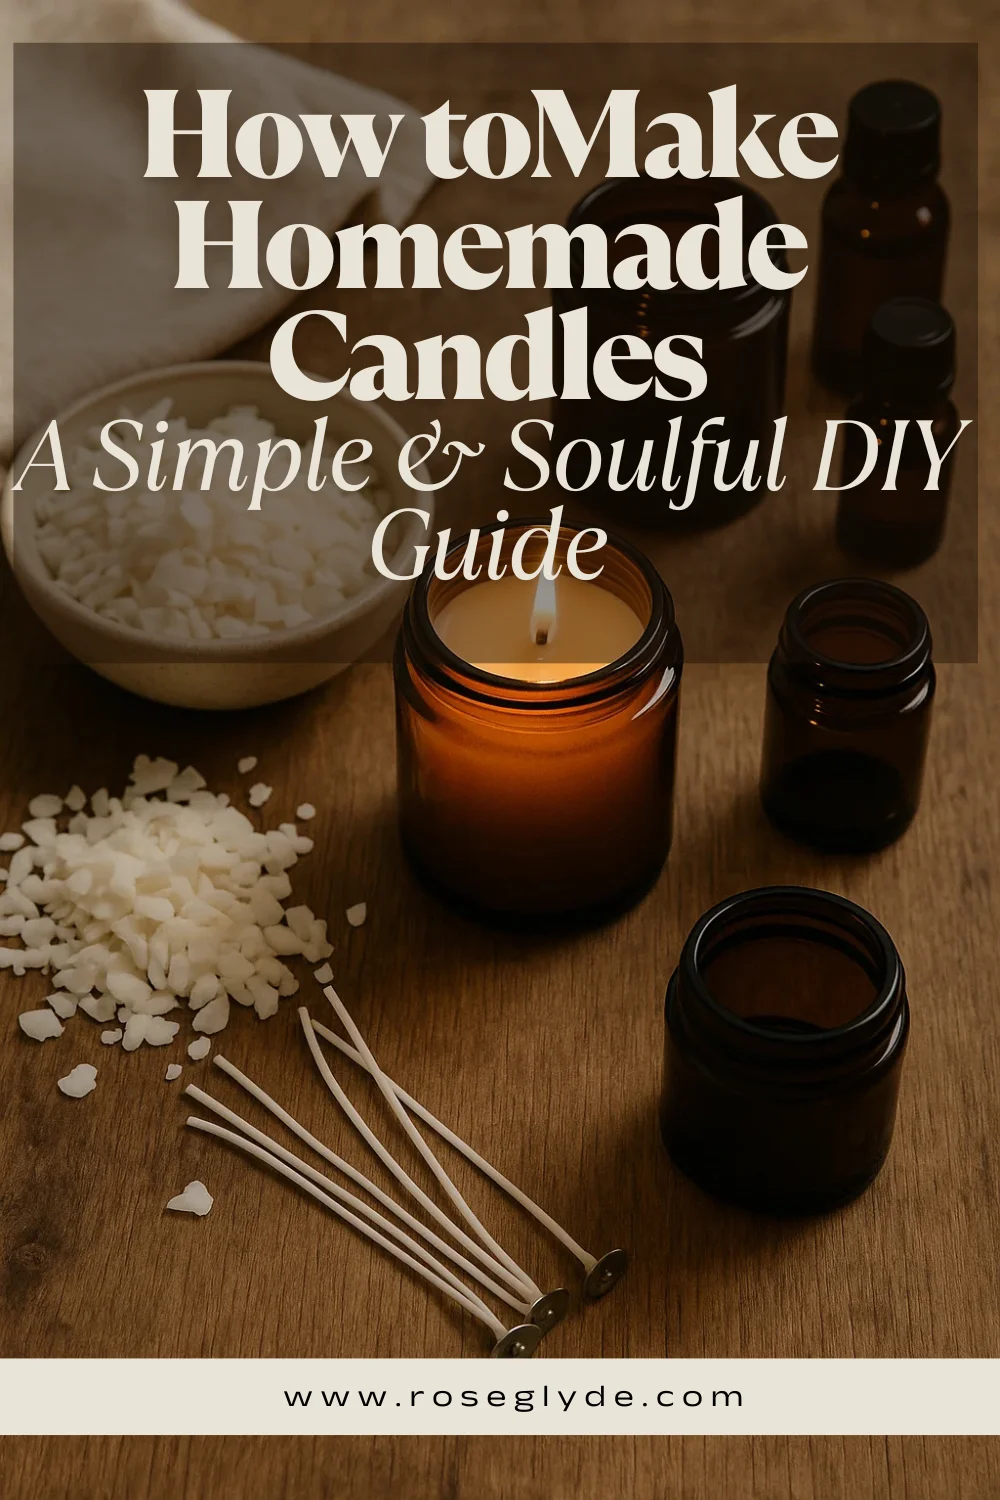
- Candle wax (soy, beeswax, or paraffin – soy is a great beginner option)
- Wicks (size depends on the width of your container)
- Heat-safe containers (mason jars, teacups, tins, etc.)
- Double boiler (or a makeshift one with a pot and glass bowl)
- Thermometer (optional but helpful)
- Wooden skewer or chopstick (to hold the wick in place)
- Fragrance oils (optional – lavender, vanilla, cinnamon, citrus are popular)
- Candle dye or natural coloring (optional)
- Glue dots or hot glue (to secure the wick to the bottom of the container)
Step-by-Step Guide:
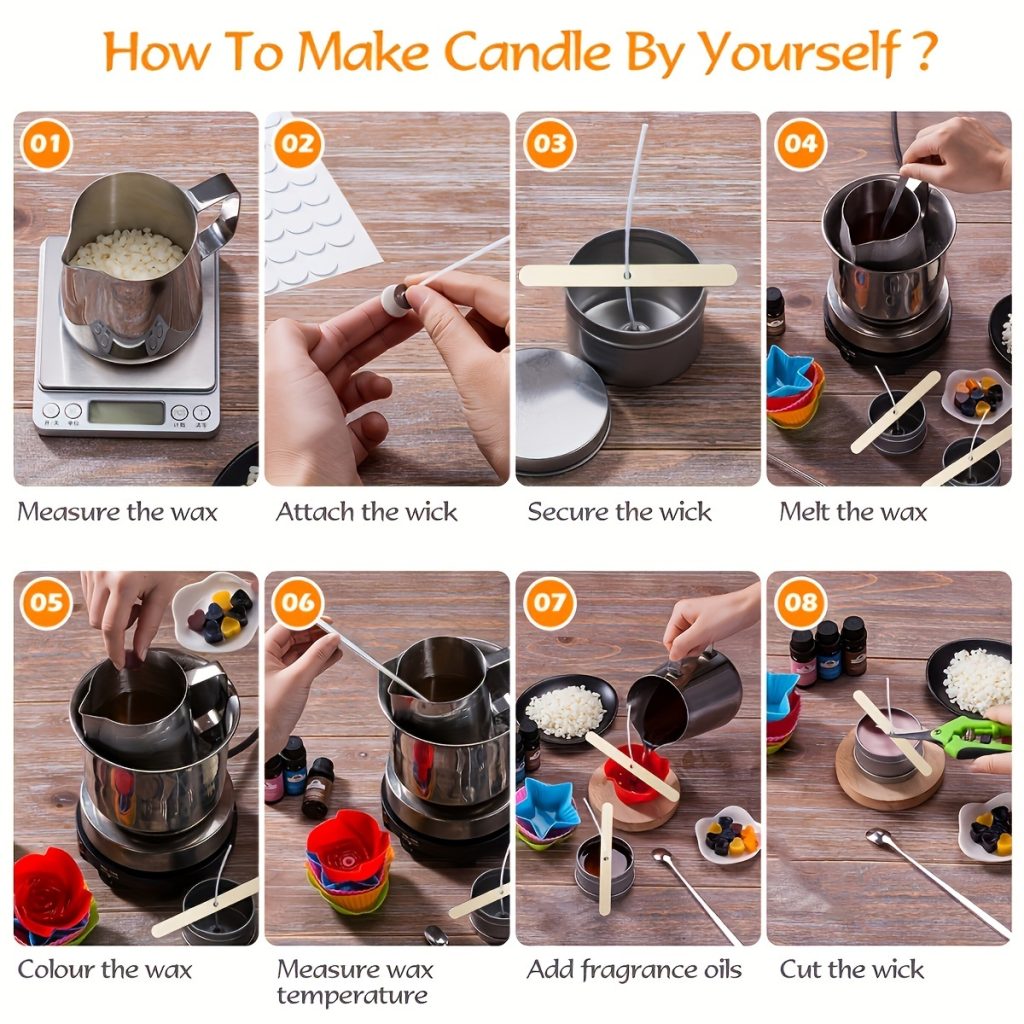
1. Prepare Your Container
Clean and dry your container. Use a glue dot or dab of hot glue to secure the wick to the bottom center. Wrap the top of the wick around a skewer or pencil and lay it across the top of the container to keep it centered.
2. Melt the Wax
Using a double boiler, gently melt your wax over low heat. Stir occasionally. For soy wax, the ideal pouring temperature is around 130–140°F (55–60°C).
3. Add Fragrance and Color (Optional)
Once the wax is fully melted:
- Add fragrance oil (about 1 oz per pound of wax, or follow the recommended ratio on the label).
- Stir in your dye or coloring, if using. Go light at first—you can always deepen the color.
4. Pour the Wax
Slowly pour the wax into your prepared container, leaving about half an inch at the top. Let the wax cool and harden. This can take several hours, so be patient and avoid moving the container.
5. Top Off if Needed
Sometimes, the wax sinks around the wick as it cools. If you see a dip, reheat a small amount of wax and pour a thin second layer to fill in the gap.
6. Trim the Wick
Once the candle is fully set, trim the wick to about 1/4 inch. This helps prevent smoke and ensures a clean burn.
7. Cure & Enjoy
Let your candle cure for 24–48 hours before lighting it, especially if you’ve used fragrance oils. This allows the scent to fully develop.
Make It Your Own
Here’s where the magic happens. Homemade candles are endlessly customizable:
- Rustic Vibe? Use mason jars and add a twine bow.
- Romantic Gift? Try rose-scented wax in a vintage teacup.
- Seasonal Mood? Create pumpkin spice candles for fall or peppermint for winter holidays.
- Eco-Friendly Touch? Use soy or beeswax and recyclable containers.
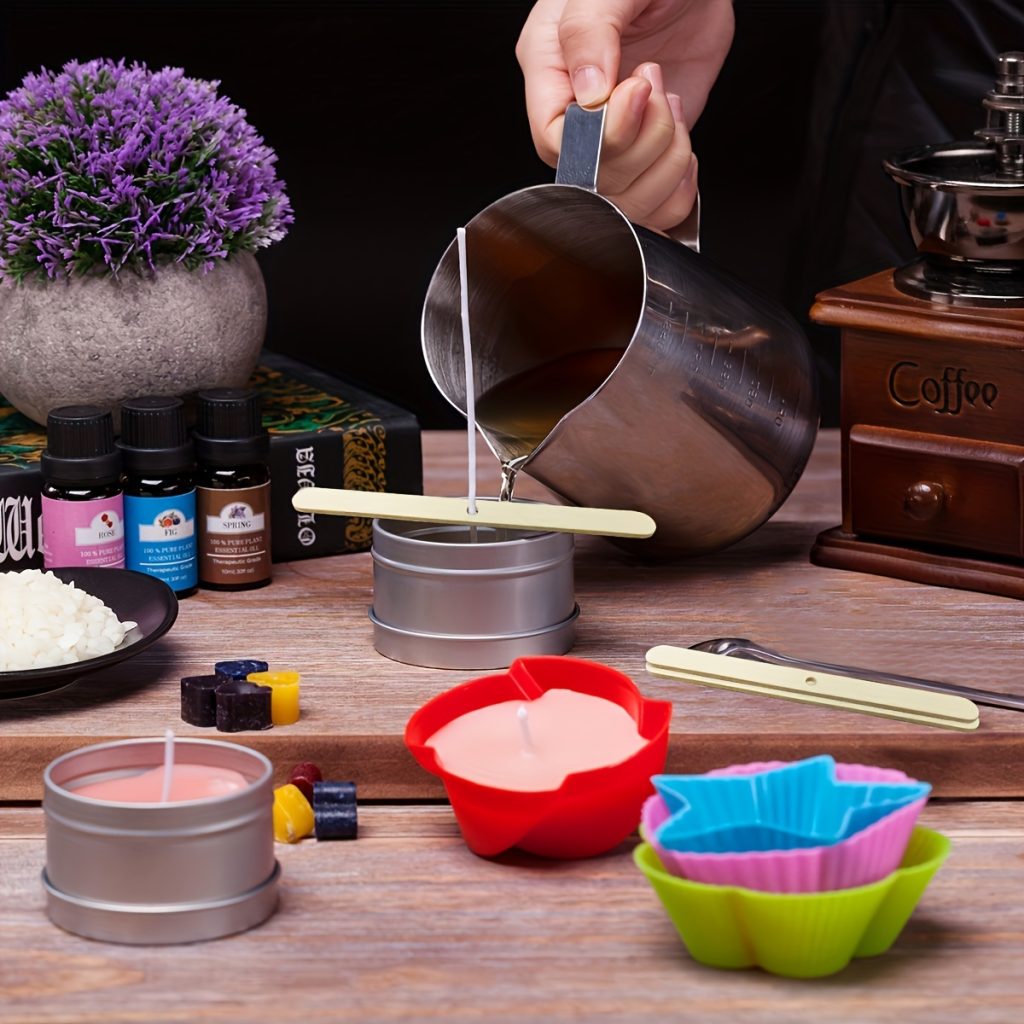
If you’re just starting out with homemade candles, this kit is beginner-friendly and comes with everything you need. Here is my affiliate link
Best Wax Types for Homemade Candles
Choosing the right wax can make a big difference in the appearance, scent throw, and burn quality of your homemade candles.
Soy Wax
Soy wax is one of the most popular choices for beginners. It burns cleanly, holds fragrance well, and is derived from renewable soybean oil.
Beeswax
Beeswax candles offer a natural honey scent and a beautiful golden color. They burn slowly and are often preferred by those seeking natural candle-making materials.
Coconut Wax
Coconut wax is known for its smooth finish and excellent scent throw. It is often blended with soy wax to create luxury-style homemade candles.
Paraffin Wax
Paraffin wax is inexpensive and provides strong fragrance performance, making it a common choice for highly scented candles.
Experimenting with different waxes can help you discover which option works best for your candle-making goals.
The Perfect Handmade Gift
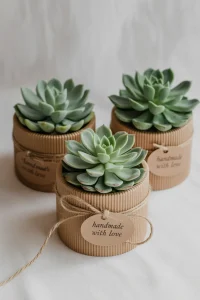
Homemade candles aren’t just fun to make—they make thoughtful, heartfelt gifts. Add a handwritten label, tie a ribbon, or bundle with other small items like a journal, bath salts, or tea.
A DIY candle says, “I made this just for you,” and that’s something no store-bought item can match.
Common Homemade Candle Mistakes and How to Avoid Them
Even experienced candle makers encounter issues from time to time. Here are some common problems and solutions:
Candle Tunneling
Tunneling occurs when the candle burns down the center while leaving wax around the edges. This is often caused by using the wrong wick size.
Sinkholes Around the Wick
As wax cools, it can shrink and create small holes around the wick. Pouring at the correct temperature and allowing the candle to cool slowly can help prevent this.
Weak Scent Throw
If your homemade scented candles don’t smell strong enough, try adjusting the fragrance oil percentage according to the wax manufacturer’s recommendations.
Frosting on Soy Candles
Soy wax naturally develops a frosted appearance over time. This is completely normal and does not affect performance.
Final Thought: Light That Sparks Joy
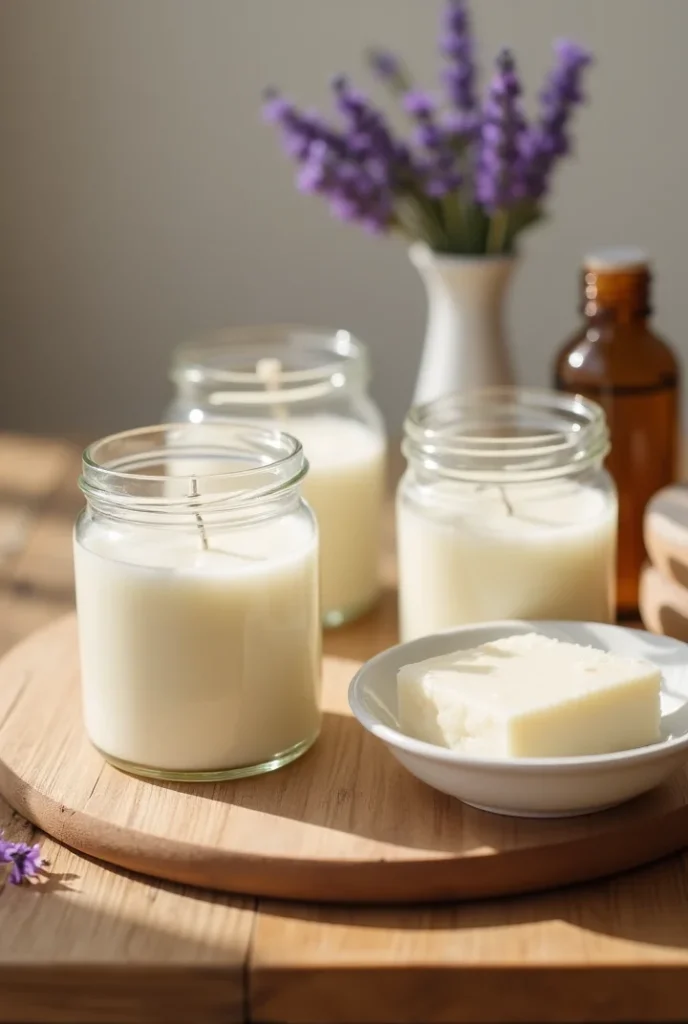
Making candles at home is more than just a craft—it’s a calming ritual, a creative escape, and a way to infuse your space with love and intention. Whether you’re gifting them or lighting them for yourself, these little flames can bring a lot of light. So gather your supplies, set the mood, and let your inner maker shine.
Frequently Asked Questions About Homemade Candles
How long should homemade candles cure before burning?
Most soy wax homemade candles perform best after curing for 7–14 days. This allows the fragrance oil to fully bind with the wax for a stronger scent throw.
What is the best wax for beginners?
Soy wax is generally considered the easiest wax for beginners because it is simple to work with and produces clean-burning candles.
Can I use essential oils in homemade candles?
Yes, but not all essential oils perform equally well in candles. Many candle makers combine essential oils with candle-safe fragrance oils for better scent performance.
Are homemade candles cheaper than store-bought candles?
In most cases, yes. Making candles at home can significantly reduce costs, especially when purchasing wax and supplies in larger quantities.
What containers are safe for homemade candles?
Heat-resistant glass jars, candle tins, and containers specifically designed for candle making are generally the safest options. Avoid thin decorative glass that may crack under heat.
How long do homemade candles last?
Properly stored homemade candles can last one to two years or longer. Keep them away from direct sunlight and excessive heat to preserve their scent and appearance.
Related:
- 10 Candle Styling Ideas to Elevate Your Home Décor
- 9 Candle Color Meanings & What They Say About You
- Candle Gift Ideas for Every Occasion
- Windproof Candle Holders for Outdoor Decor & Events
- 4 Stunning Ways to Arrange Floating Candles Centerpieces for Wedding
- Which Candle Wax Is Best? Comparing Beeswax, Soy, Coconut & More for Burn Time & Scent
- 10 Creative Candle Ideas: Fancy, Botanical, and Beyond