

DIY Pressed Flower Candles for a Botanical Look
There’s something timeless and enchanting about flowers preserved in wax. Pressed flower candles are the perfect way to bring nature indoors while adding a romantic, botanical touch to your home décor. Whether you want to create a stunning centerpiece, a thoughtful handmade gift, or a cozy accent for your living space, these candles are a DIY project you’ll love. Best of all, they’re beginner-friendly, affordable, and customizable with seasonal blooms.
In this guide, we’ll walk you through how to make DIY pressed flower candles, tips for choosing flowers, styling inspiration, and creative ways to use them in your home.
Table of Contents
Why Choose Pressed Flower Candles?
Pressed flower candles combine functionality with natural beauty. Unlike plain candles, these decorative pieces become a small work of art—every petal and leaf preserved in wax tells a story. Here’s why they’re trending:
- Botanical Aesthetic: Perfect for cottagecore, shabby chic, and garden-inspired interiors.
- Handmade Charm: Each candle looks unique, making it a heartfelt gift idea.
- Eco-Friendly Craft: You can reuse dried flowers from your garden or bouquets.
- Multi-Purpose: Works as home décor, event styling, or personalized wedding favors.
Materials You’ll Need
To create your own DIY pressed flower candles, gather the following supplies:
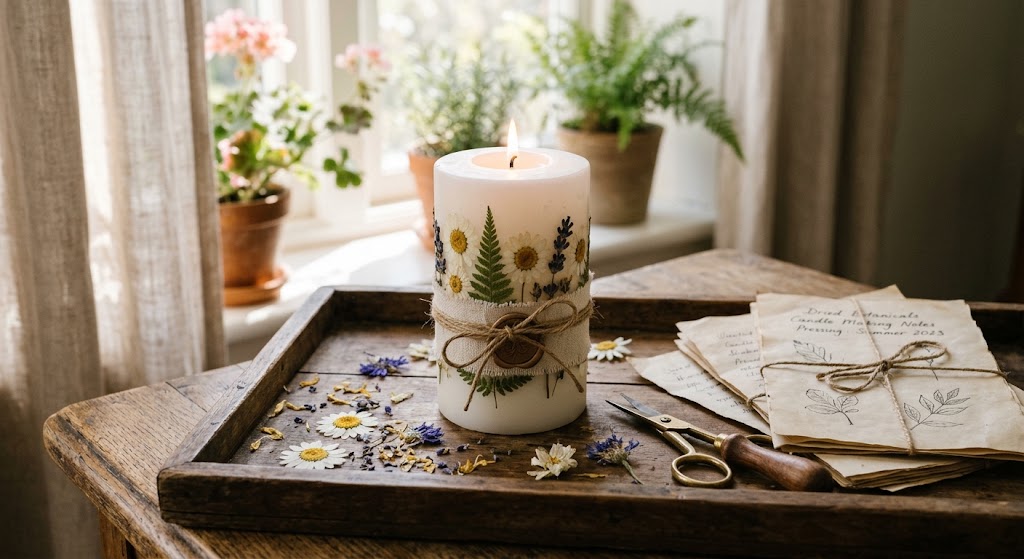
- Plain pillar candle or jar candle (soy wax or beeswax is ideal)
- Pressed flowers or leaves (homemade or store-bought)
- Wax paper or parchment paper
- Spoon or butter knife
- Heat gun or hairdryer (for embedding flowers)
- Tweezers (to carefully place delicate petals)
- Optional: Essential oils for scent
How to Make Pressed Flower Candles
Follow these simple steps to create beautiful botanical candles:
Step 1: Press and Prepare Flowers
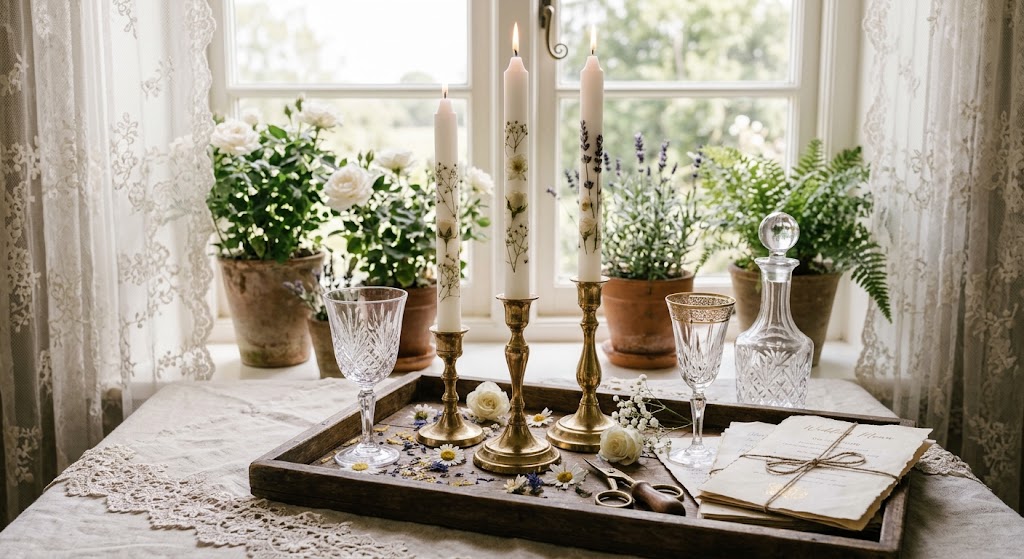
If you’re using fresh flowers, press them at least a week before making your candle. Place them between two sheets of parchment paper and weigh them down with heavy books. Thin flowers like daisies, pansies, lavender, and ferns work best since they flatten easily.
Step 2: Choose Your Candle
Select a plain pillar candle in a light color like white, cream, or pastel shades. Lighter wax makes the pressed flowers stand out more beautifully.
Step 3: Position the Flowers
Use tweezers to arrange your pressed flowers on the candle’s surface. Be creative—place them in a neat row, scatter them for a whimsical look, or create a pattern.
Step 4: Apply Wax Paper
Wrap wax paper tightly around the candle, ensuring flowers stay in place. Hold the wax paper firmly, leaving an edge to grip.
Step 5: Heat and Seal
Use a hairdryer or heat gun to gently warm the candle’s surface. The wax will melt slightly, embedding the pressed flowers into the outer layer. Carefully peel away the wax paper to reveal your decorated candle.
Step 6: Add Final Touches
Smooth any uneven areas with the back of a warm spoon. If desired, add drops of essential oil for a soft, natural fragrance.
How to Choose the Best Flowers for Pressed Flower Candles
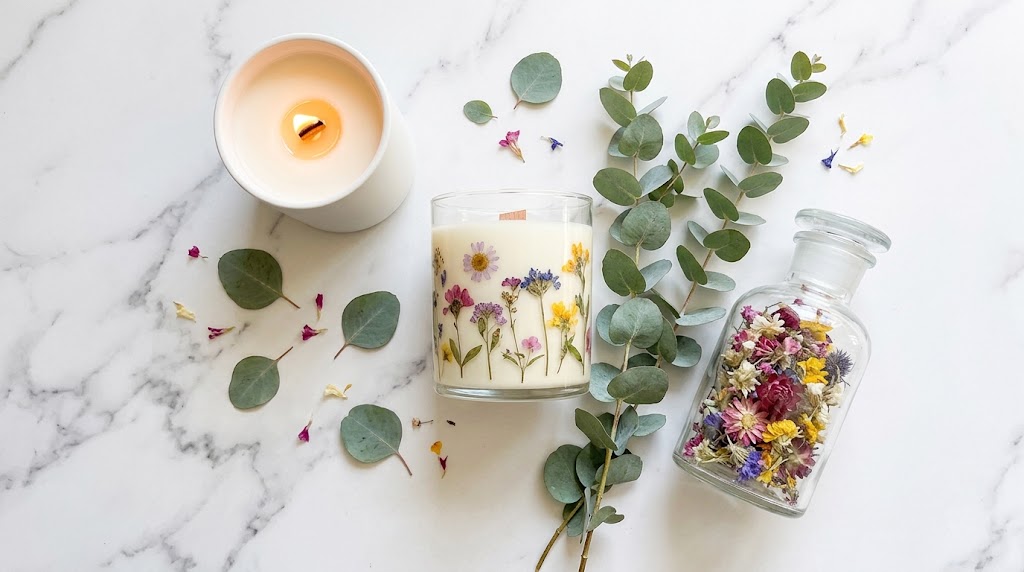
Choosing the right flowers is one of the most important steps when making DIY pressed flower candles. Delicate, flat flowers usually create the prettiest designs because they sit close to the candle’s surface and preserve their natural shape. Pansies, small daisies, forget-me-nots, and thin fern leaves are popular choices for a botanical look.
Consider the color palette of your room before selecting your flowers. Purple lavender and blue forget-me-nots look beautiful against ivory wax, while yellow daisies and pale pink petals create a cheerful spring-inspired design. For a more understated cottagecore aesthetic, combine tiny white flowers with muted green leaves.
Make sure your flowers are completely dry before using them. Fresh or damp flowers can discolor, develop mold during storage, or adhere poorly to the candle. Press flowers between absorbent paper inside a heavy book, changing the paper if it becomes damp. Store finished pressed flowers in a dry, flat container until you’re ready to use them.
Helpful tip: Test your arrangement on a spare candle or a piece of paper before attaching the flowers. This lets you experiment with spacing, color, and placement without damaging your finished design.
Easy Pressed Flower Candle Designs for Different Decorating Styles
One reason pressed flower candles are such an appealing DIY home décor project is that the same basic technique can create several different looks. You don’t need expensive supplies or professional candle-making equipment to experiment with botanical designs.
1. Minimalist Botanical Candles
For a simple, elegant appearance, decorate a cream or white pillar candle with just two or three pressed flowers and a few slender leaves. Leave plenty of empty space around the arrangement so every botanical detail stands out. These candles work particularly well on bedside tables, bathroom shelves, entryway consoles, and minimalist mantel displays.
2. Romantic Cottagecore Candles
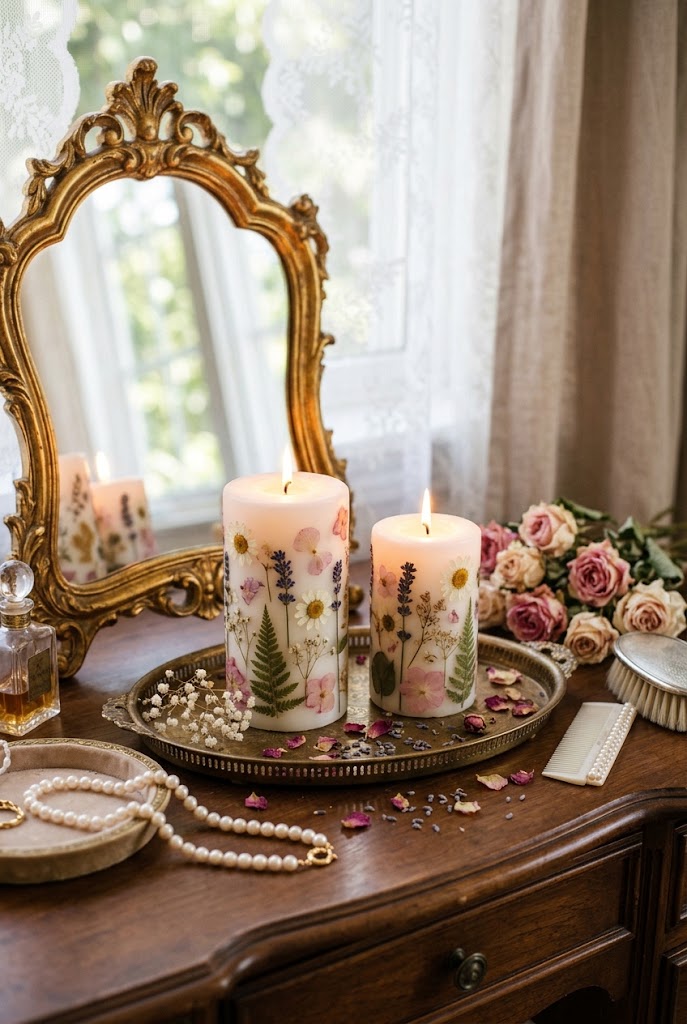
If you love cottagecore home décor, combine small pansies, lavender sprigs, daisies, and delicate greenery. Choose soft shades of purple, butter yellow, cream, and dusty pink. Display the finished candles alongside vintage books, ceramic vases, embroidered linens, or dried flower bouquets for a relaxed, collected look.
3. Rustic and Natural Candles
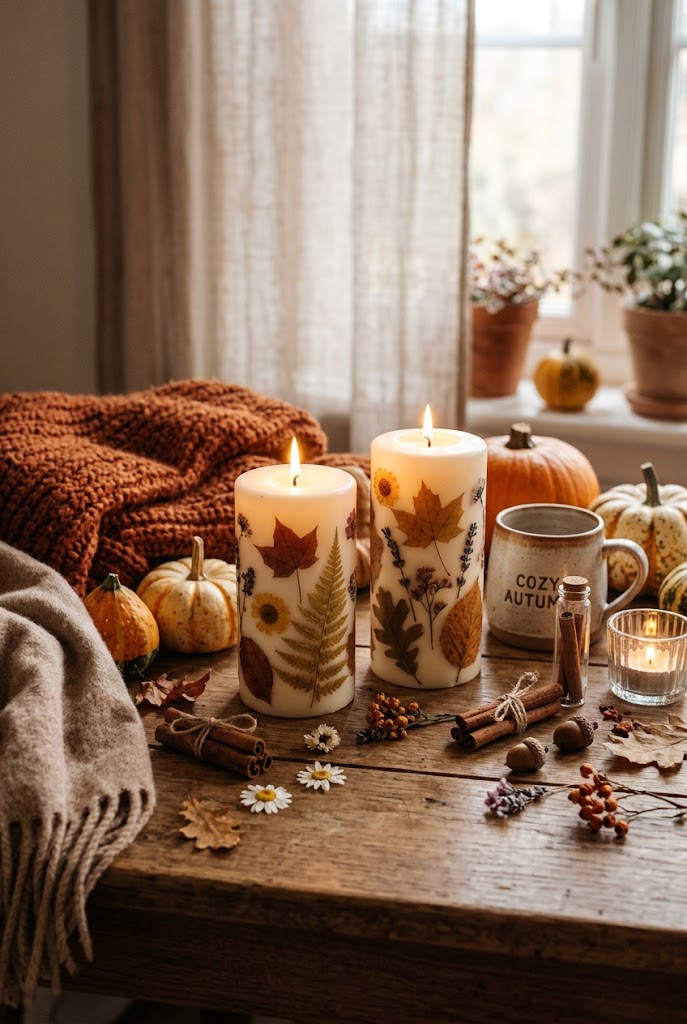
For rustic interiors, pair ivory candles with muted brown, sage green, and golden-yellow botanical details. A wooden tray, woven basket, or stoneware dish can complement the natural textures. This style works beautifully in cozy reading corners, country-inspired living rooms, and nature-themed seasonal displays.
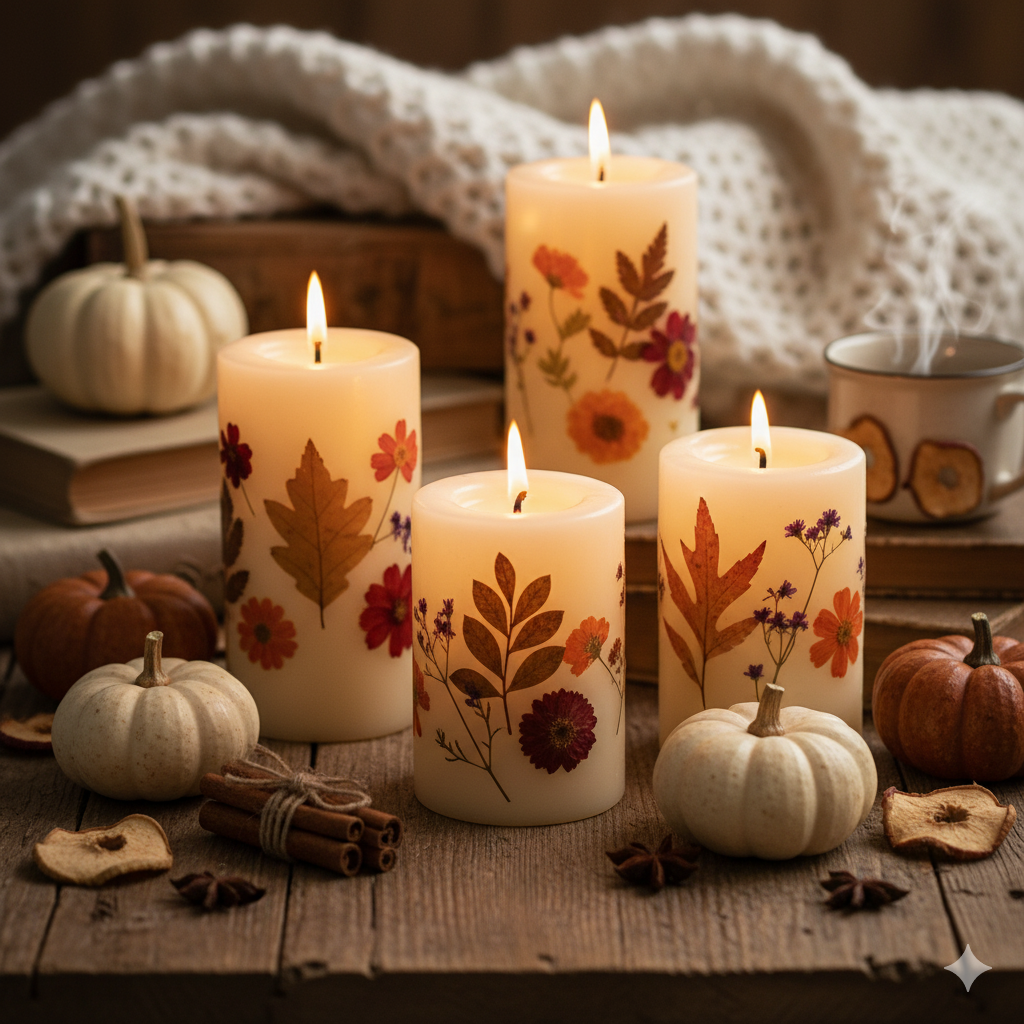
4. Seasonal Floral Candles
Pressed flower candles can also reflect the changing seasons. Use delicate pastel flowers for spring, colorful garden blooms for summer, and suitable dried foliage for autumn-inspired displays. During winter, create a botanical arrangement using subtle greenery motifs and neutral colors.
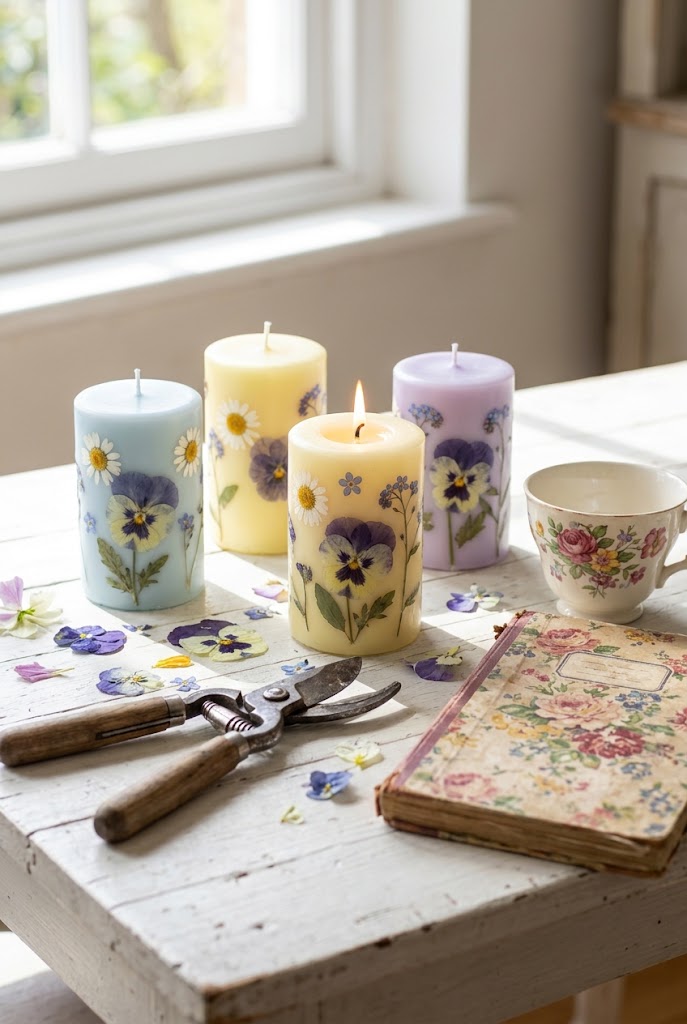
Remember that seasonal styling is not limited to holidays. A simple change in flowers, surrounding textiles, or candle holders can refresh a familiar corner of your home throughout the year.
How to Style Pressed Flower Candles in Your Home
Once your botanical candles are finished, think about how they will fit into your existing décor. You can create a beautiful display without purchasing a completely new collection of accessories.
On a coffee table, place a decorative candle on a wooden or ceramic tray and pair it with a small vase of dried flowers. Keep the arrangement low enough that it doesn’t obstruct conversation or crowd the table. A vintage book or a small dish adds texture without competing with the floral design.
For a bedroom, choose soft ivory candles with understated botanical details. Place them on a dresser or bedside surface as decorative accents, keeping them away from curtains, bedding, paper, and other flammable materials. If you want the appearance of candlelight without an open flame, use an LED candle with a removable floral decoration.
Pressed flower candles also make thoughtful handmade gifts. Wrap an unlit decorative candle in protective tissue paper and place it in a sturdy gift box with a handwritten note. You can coordinate the flowers with the recipient’s favorite colors or the season of the occasion. For weddings, bridal showers, birthdays, and housewarming gifts, a coordinated set of two or three candles can feel especially personal.

How to Make Your Pressed Flower Candles Last Longer
Proper storage helps preserve the appearance of your handmade botanical candles. Keep them in a cool, dry place away from direct sunlight, as prolonged exposure to heat and bright light can soften the wax and fade delicate flower colors.
Avoid storing candles near radiators, sunny windowsills, or warm appliances. When moving or packing them, wrap each candle separately in tissue paper to protect the decorative surface from scratches and dust.
If you display your candles seasonally, store them in a labeled box between uses. This makes it easier to bring them out again when you refresh your spring décor, prepare a cozy autumn display, or assemble handmade gifts.
For candles intended purely for decoration, consider making a separate set specifically for display. This allows you to enjoy the botanical design without the risks associated with burning flowers embedded in wax.
Safety Tips
While pressed flower candles are gorgeous, keep in mind:
- Only decorate the outside layer of candles to prevent flowers from burning.
- Never leave a burning candle unattended.
- Use candle holders or trays to catch drips and protect surfaces.
- For jar candles, decorate the outside of the glass instead of embedding flowers inside the wax.
Are DIY Pressed Flower Candles a Good Budget-Friendly Craft?
Pressed flower candles can be an affordable craft because you may already have several of the necessary materials at home. A plain pillar candle, flowers collected from an appropriate source, parchment paper, tweezers, and a few basic craft supplies can be enough to get started.
You can also save money by pressing flowers from a bouquet that would otherwise be discarded, provided the flowers are suitable and completely dry. However, avoid collecting protected wildflowers or plants from places where removal is prohibited.
Pressed flower candles are often sold at boutique shops, but making them yourself offers benefits:
- Cost-Effective: Homemade versions cost a fraction of retail prices.
- Customizable: Choose your own flower types, colors, and scents.
- Sustainable: Use recycled candles or upcycled jars.
- Personal: Handmade candles carry sentimental value, especially if flowers come from your own garden.
Final Thoughts
DIY pressed flower candles are more than just a craft—they’re a celebration of nature, creativity, and cozy living. Whether you make them for yourself or gift them to a loved one, these candles are sure to brighten up any room with their delicate botanical charm.
So, next time you have leftover blooms, don’t toss them—press them, preserve them, and turn them into glowing floral art.


