How to Create Stunning Wall Art Without Being a Pro: A Complete Guide
Wall art has the power to completely transform a room, adding personality, style, and warmth to your home. But if you’ve ever looked at a blank wall and felt overwhelmed, you’re not alone. You don’t need to be a professional artist to create stunning wall décor. With the right techniques, tools, and creativity, anyone can make eye-catching art pieces that elevate their living space. In this guide, we’ll cover everything from inspiration to finishing touches, so you can confidently create wall art that feels truly yours.
Table of Contents
Why DIY Wall Art is Worth Trying
Before diving into the “how,” let’s talk about why making your own wall art is so rewarding:
- Personalized Style: You can tailor your art to fit your home’s color palette, theme, and vibe.
- Cost-Effective: DIY wall art is often much cheaper than buying ready-made pieces, especially large-scale designs.
- Creative Expression: Crafting your own pieces allows you to express your personality, hobbies, and memories in a unique way.
- Therapeutic & Fun: Many people find the process relaxing and satisfying, making it a perfect creative outlet.
Step 1: Gather Inspiration and Decide Your Style
Before putting brush to canvas or glue to paper, take some time to explore what style you want for your wall art. Here are a few popular styles that beginners can easily try:
- Abstract: Free-flowing shapes, colors, and patterns. Perfect for modern and minimalist spaces.
- Typography & Quotes: Short inspirational quotes or words using bold letters, stencils, or vinyl cutouts.
- Nature-Inspired: Leaves, flowers, landscapes, or ocean-themed artwork.
- Geometric Patterns: Simple shapes and symmetry for a clean, modern look.
- Mixed Media Collages: Combining paper, fabric, photos, and paint for texture and depth.
To gather ideas, browse Pinterest, Instagram, or interior design blogs. Take note of colors, textures, and themes that resonate with your space.
Step 2: Choose the Right Materials
You don’t need professional-grade supplies to create beautiful wall art. Here’s a list of beginner-friendly materials:
- Canvas or Paper: Pre-stretched canvases, watercolor paper, or even recycled cardboard work well.
- Paints: Acrylics are beginner-friendly, dry quickly, and come in vibrant colors. Watercolors and gouache are also good for subtle, soft effects.
- Brushes and Sponges: A mix of sizes and shapes helps create different textures. Sponges or old toothbrushes can make fun patterns.
- Pens and Markers: Fine liners, metallic pens, and paint markers work well for details or typography.
- Adhesives: Glue sticks, mod podge, or double-sided tape for collages.
- Frames & Mounting Supplies: Frames, clips, or wooden hangers to display your art beautifully.
Pro tip: Don’t overthink the supplies. Start simple and gradually experiment with more tools as you gain confidence.
Step 3: Pick Your Color Palette
A cohesive color palette can instantly make your wall art look professional. Some tips:
- Choose 2–3 main colors and 1–2 accent colors.
- Use colors that complement your room décor to create harmony.
- Experiment with neutrals (white, beige, gray) if you want a minimalist look.
- Bright and bold colors can make a statement piece.
Tip: Test color combinations on a scrap piece of paper before committing to the final artwork.
Step 4: Prepare Your Workspace
Setting up your creative space is key to enjoying the process:
- Cover your table with newspaper or a craft mat.
- Keep water, paper towels, and cleaning supplies nearby.
- Arrange all your materials within easy reach.
- Play music or light a candle to create a relaxed, inspiring atmosphere.
Step 5: Start Creating
Here’s where the fun begins! Depending on your chosen style, there are several easy techniques you can try:
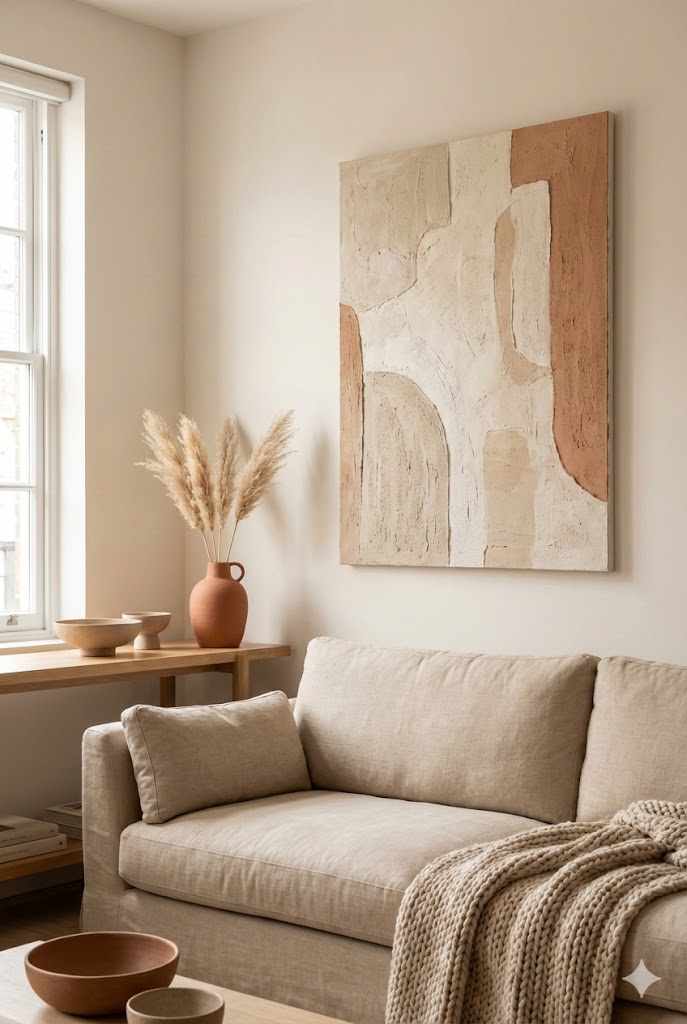
1. Abstract Wall Art
- Use a large brush or palette knife to layer colors freely.
- Experiment with splatter painting using a toothbrush or flicking paint from a brush.
- Allow each layer to dry before adding another for depth.
2. Typography & Quotes
- Use stencils for clean letters or handwrite your favorite quotes.
- Layer paint or ink with different shades to make letters pop.
- Add borders or shapes to frame your text.

3. Nature-Inspired Designs
- Press real leaves or flowers and paint over them to create unique prints.
- Try sponge painting to mimic textures like clouds, water, or foliage.
- Use watercolors for soft, natural gradients.

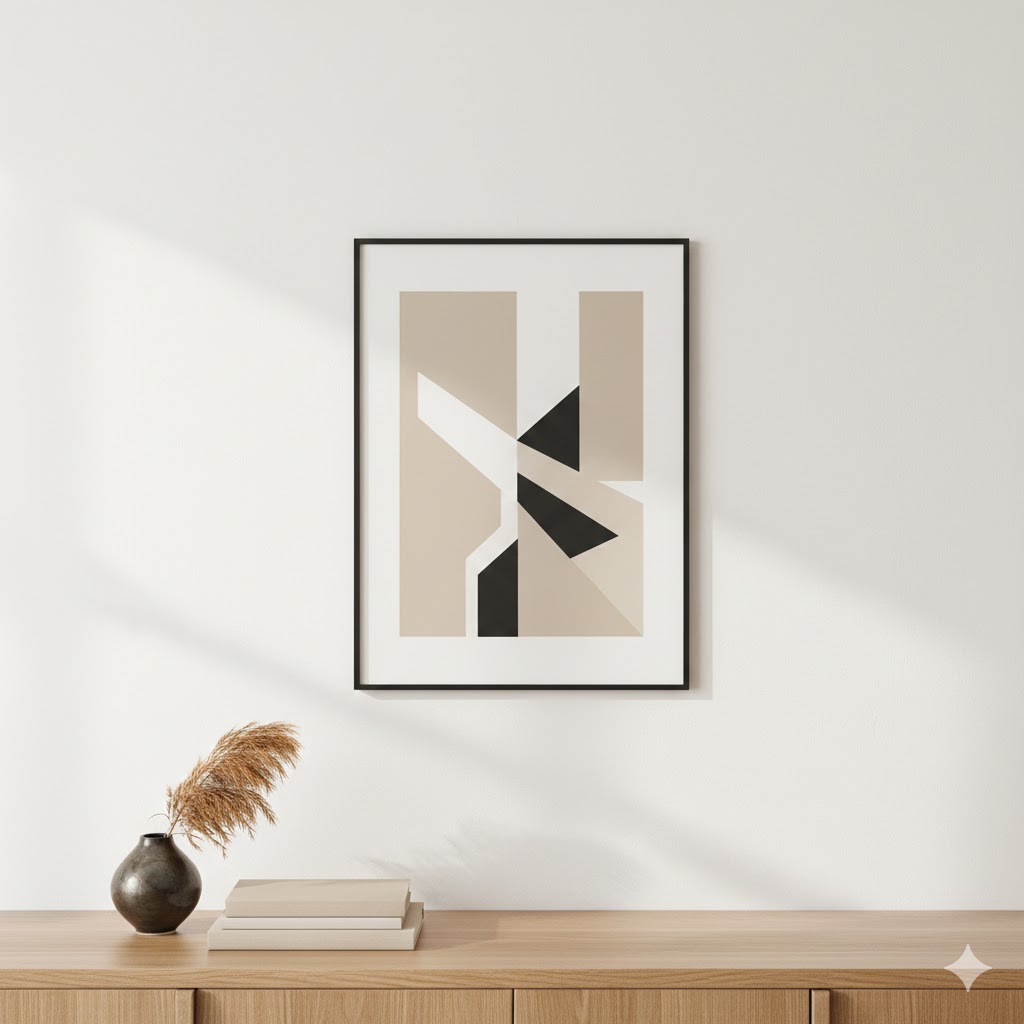
4. Geometric Patterns
- Use painter’s tape to create clean lines and shapes.
- Experiment with triangles, stripes, or circular patterns.
- Mix colors or gradients to make shapes more dynamic.
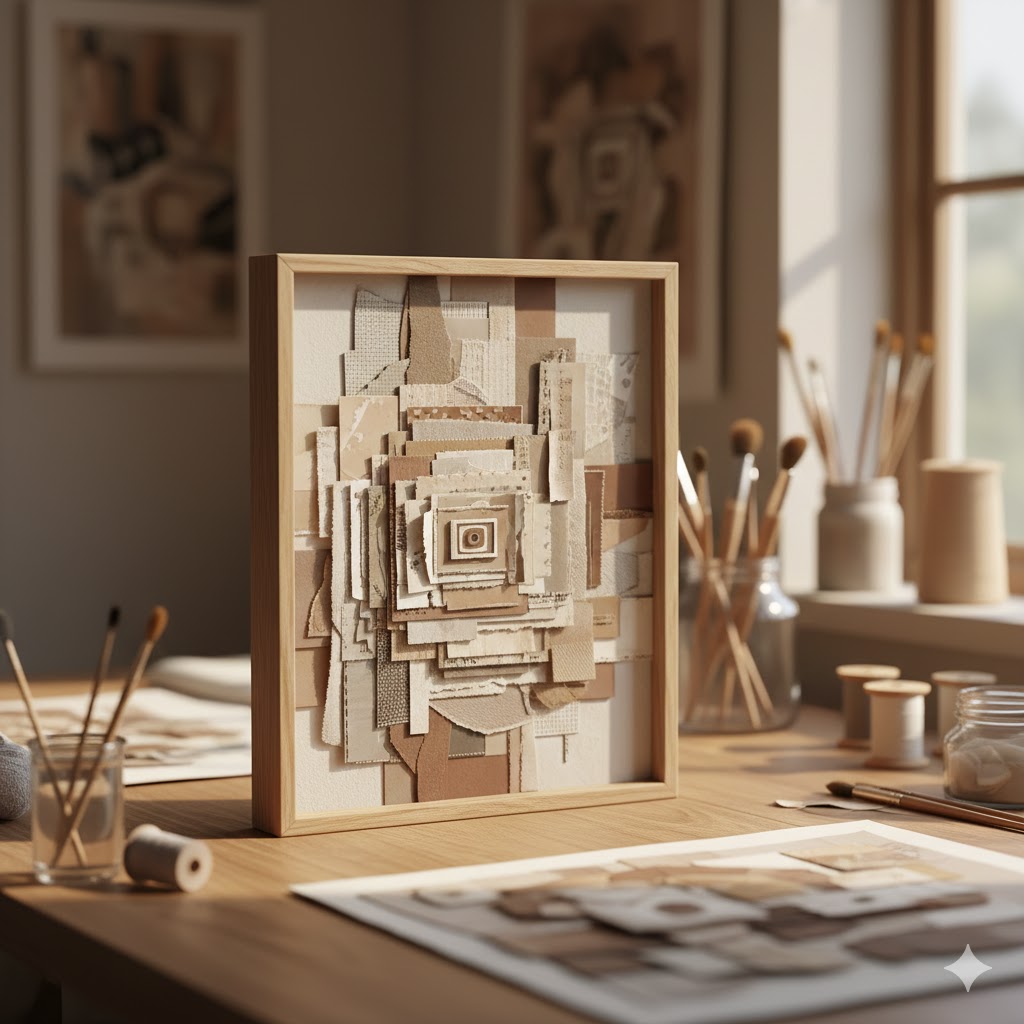
5. Mixed Media Collages
- Layer paper, fabric, photographs, and small objects for texture.
- Use mod podge to glue items onto your canvas.
- Paint over or around elements for a cohesive look.
Step 6: Add Finishing Touches
Small details can elevate your wall art:
- Outline shapes or letters with a fine liner for definition.
- Add metallic or glitter accents for a touch of sparkle.
- Seal your piece with a clear varnish or mod podge to protect it.
- Experiment with frames or mounting options: floating frames, clipboards, or washi tape borders all look stylish.
Step 7: Display Your Wall Art
Once your masterpiece is complete, it’s time to show it off:
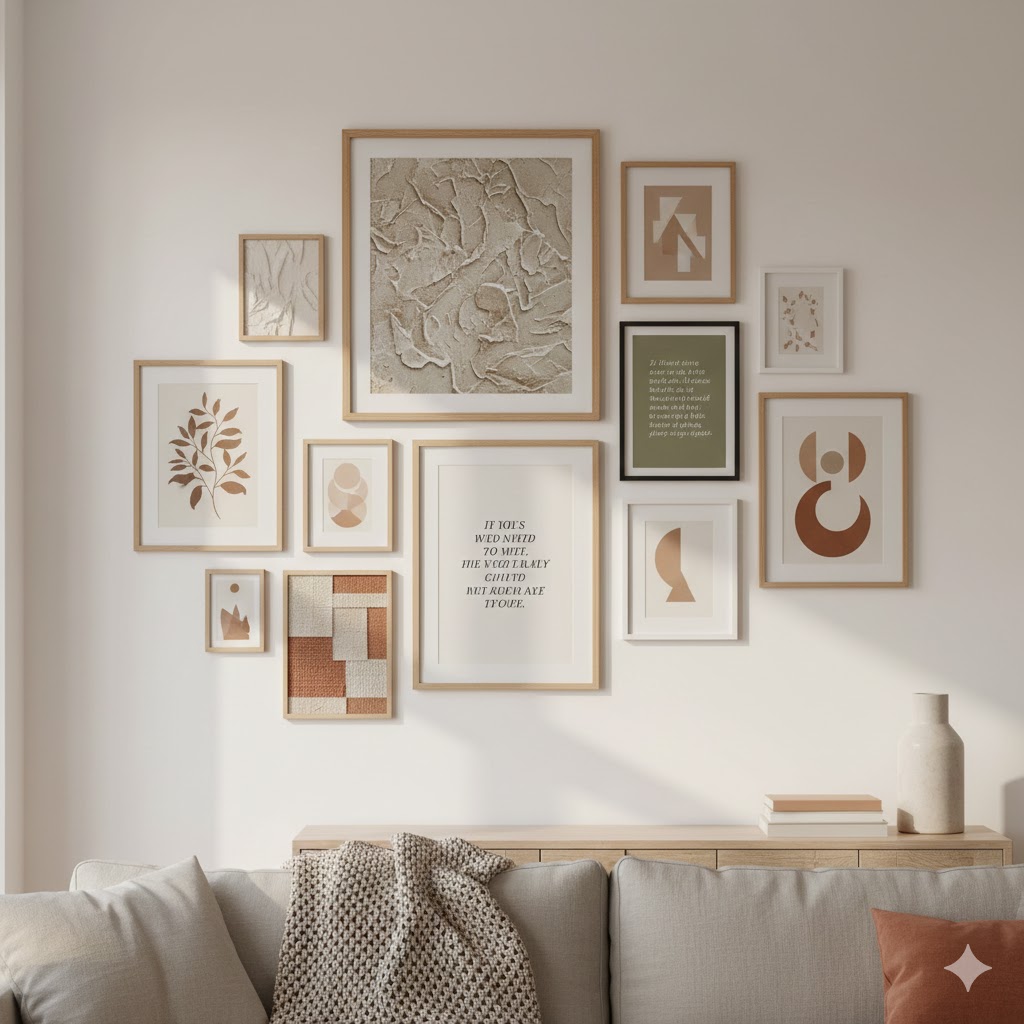
- Gallery Wall: Mix multiple pieces of your own art for a curated look.
- Statement Piece: Hang one large piece above a sofa, bed, or console table.
- Shelf Display: Lean artwork on shelves with decorative objects around it.
- Rotation: Swap seasonal art to keep your décor fresh and dynamic.
Tip: Consider your wall color and room lighting when deciding placement. Art pops best when it contrasts or complements the background.
Step 8: Embrace Imperfections
Remember, DIY wall art doesn’t need to be perfect. Imperfections make it unique and give your home a personal touch. Don’t compare yourself to professional artists—focus on the joy of creating and the satisfaction of displaying your own work.
Step 9: Experiment and Grow Your Skills
Once you’ve created your first piece, keep experimenting:
- Try new styles, techniques, or materials.
- Mix traditional painting with digital art prints.
- Take inspiration from trends like boho, minimalist, abstract, or cottagecore.
- Share your creations with friends or on social media to gain confidence and feedback.
Over time, your skills will improve, and your wall art will become a true reflection of your style.
Key Takeaways
Creating stunning wall art doesn’t require years of training or expensive materials. With inspiration, simple techniques, and a willingness to experiment, anyone can transform blank walls into personal masterpieces. Remember to:
- Start with inspiration and a clear style in mind.
- Choose beginner-friendly materials and a harmonious color palette.
- Experiment with different techniques like abstract, typography, or collages.
- Display your art creatively and embrace imperfections.
DIY wall art is about expressing yourself, decorating your space, and having fun along the way. Whether it’s a bold statement piece or a soft, minimalist design, your handmade art will add warmth and personality to your home.
If you’re looking for more inspiration, check out the creative ideas shared by Better Homes & Gardens, where you’ll find expert tips on styling and DIY home décor. => 15 DIY Wall Art Projects
Related
- How to Create a Hand-Painted Accent Wall That Looks Designer-Made
- Cottagecore Florals & Vintage Blooms: Hand-Painted Wall Ideas
- How to Choose Wall Art for Every Room: Size, Placement & Display Guide