
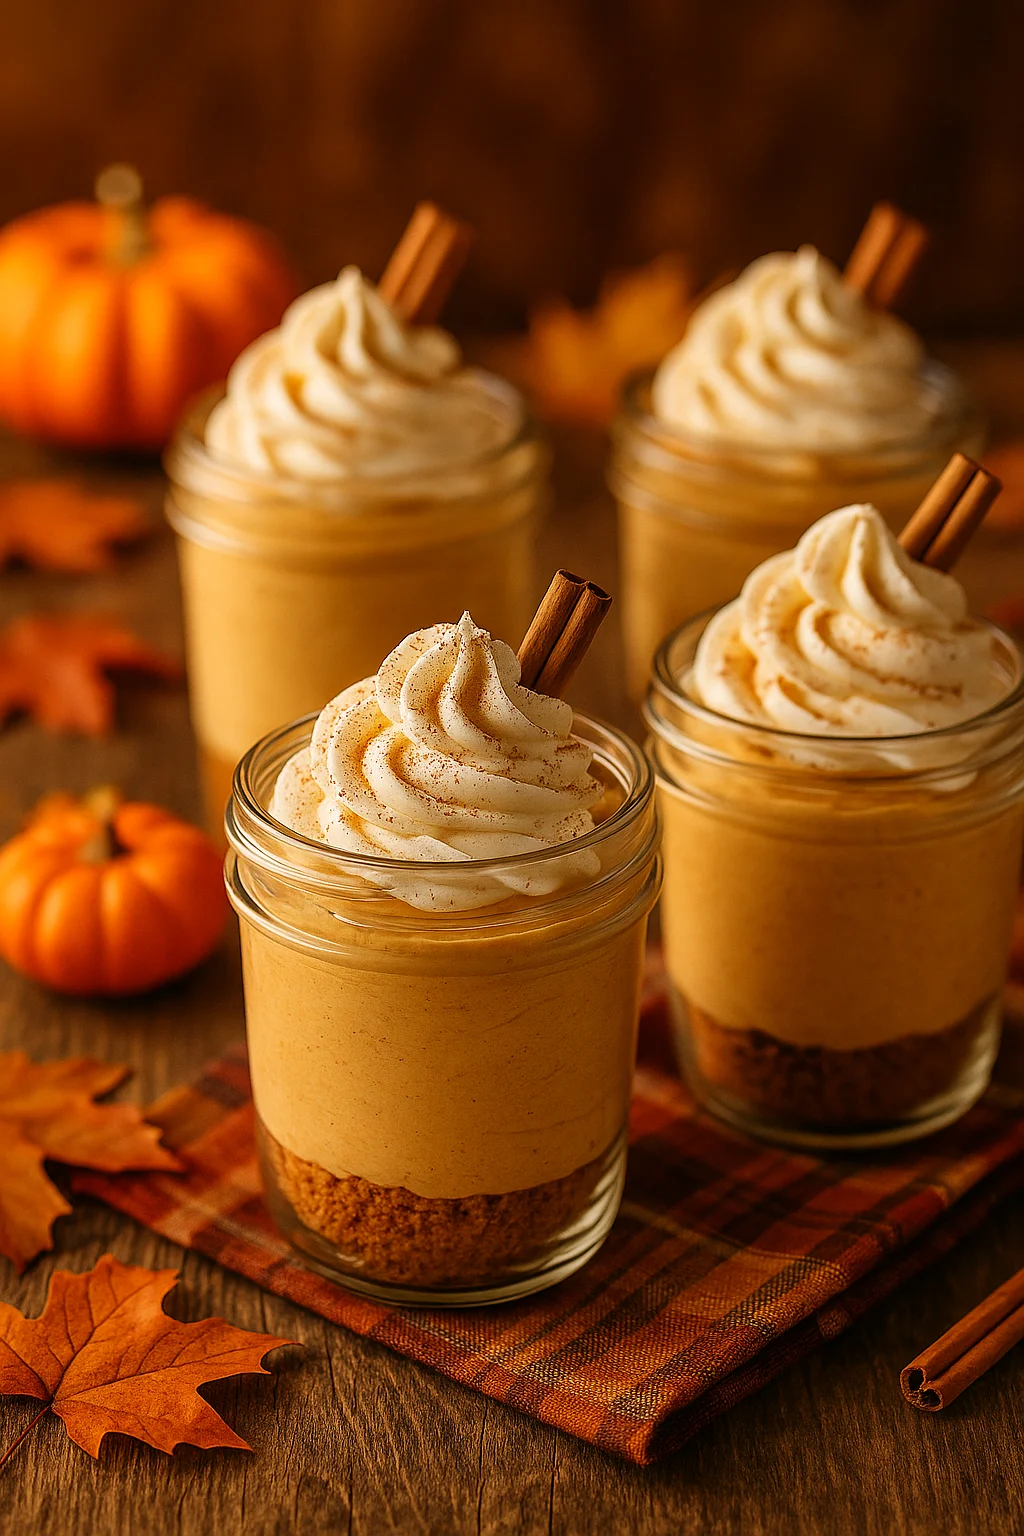
No-Bake Pumpkin Cheesecake Cups: A Quick & Cozy Fall Dessert
When the crisp autumn air rolls in and pumpkins start appearing everywhere, there’s nothing quite like a dessert that captures the season’s flavors. If you’re craving something creamy, cozy, and festive without the hassle of turning on your oven, these No-Bake Pumpkin Cheesecake Cups are the perfect treat. Layered with spiced pumpkin filling, smooth cream cheese, and a crunchy graham cracker base, they’re simple to make and look stunning served in small jars or cups.
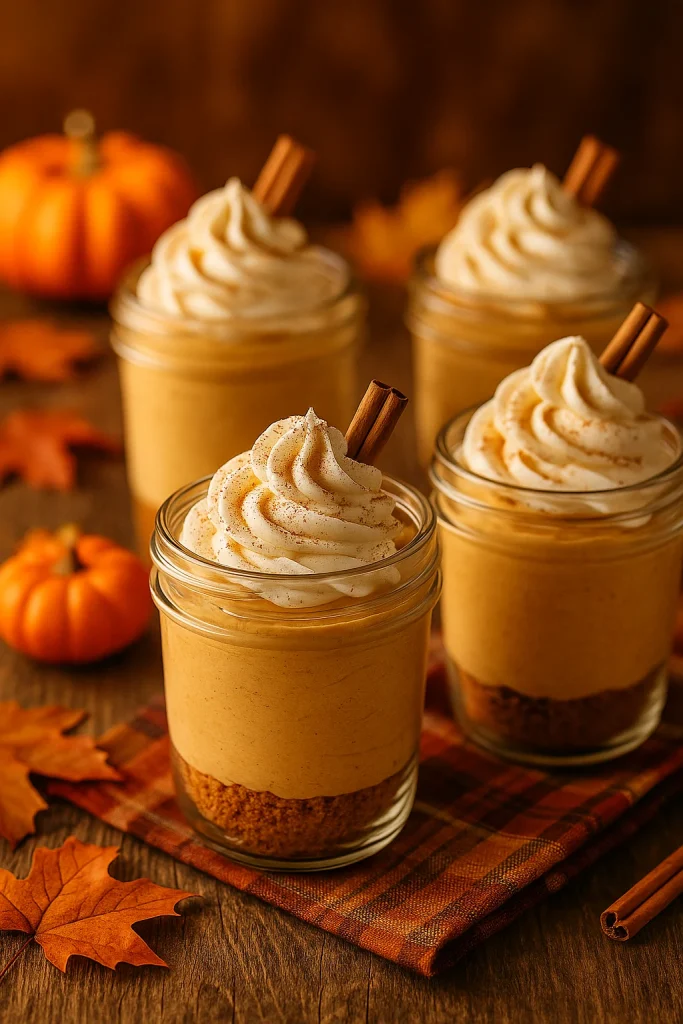
Why You’ll Love This Recipe
- No Oven Needed – Ideal for quick prep or warm days.
- Individual Servings – Perfect for parties, potlucks, or cozy nights at home.
- Fall Flavors – Pumpkin, cinnamon, nutmeg, and a hint of creaminess make every bite irresistible.
- Make Ahead Friendly – Whip them up the night before for stress-free entertaining.
Ingredients You’ll Need
Here’s what you’ll need to create these little jars of joy:
- Crust/Base:
- 1 ½ cups crushed graham crackers (or digestive biscuits)
- ¼ cup melted butter
- 2 tbsp brown sugar
- Pumpkin Cheesecake Filling:
- 1 cup pumpkin puree
- 8 oz cream cheese, softened
- ½ cup powdered sugar
- ½ tsp cinnamon
- ¼ tsp nutmeg
- ¼ tsp ginger
- 1 tsp vanilla extract
- Whipped Cream Topping:
- 1 cup heavy whipping cream
- 2 tbsp powdered sugar
- ½ tsp vanilla extract
- Optional Garnishes: Crushed graham crackers, a sprinkle of cinnamon, or caramel drizzle.
Step-by-Step Instructions
1. Prepare the Crust
- Crush graham crackers into fine crumbs.
- Mix with melted butter and brown sugar until combined.
- Spoon about 2 tablespoons of the mixture into each cup or jar, pressing lightly to form a base.
2. Make the Pumpkin Cheesecake Layer
- In a mixing bowl, beat the cream cheese until smooth.
- Add pumpkin puree, powdered sugar, vanilla, and spices.
- Whip until light and creamy.
3. Prepare the Whipped Cream
- In a separate bowl, beat the heavy cream, powdered sugar, and vanilla until stiff peaks form.
4. Assemble the Cups
- Spoon or pipe the pumpkin cheesecake filling over the crust layer.
- Add a fluffy layer of whipped cream on top.
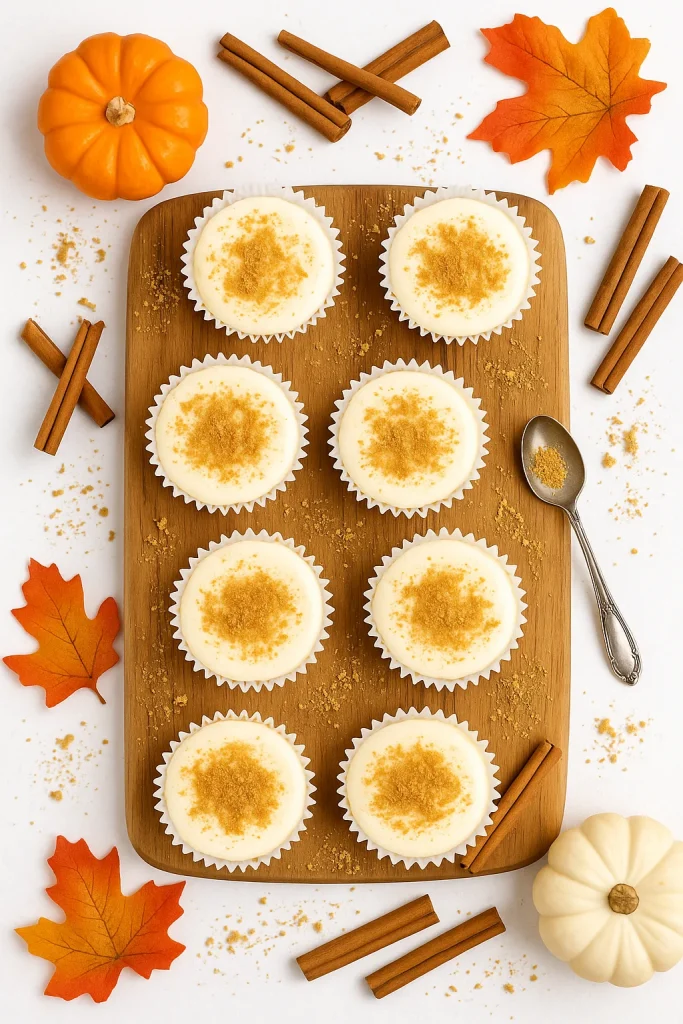
- Garnish with crushed graham crackers, a dusting of cinnamon, or caramel drizzle.
5. Chill & Serve
- Refrigerate for at least 1 hour before serving to allow flavors to set.
- Serve directly in cups or jars for a beautiful presentation.
Tips & Variations
- Cookie Swap: Use gingersnaps or Oreos instead of graham crackers for a twist.
- Healthier Version: Swap cream cheese for Greek yogurt cream cheese and use less sugar.
- Make it Fancy: Serve in mini glass jars with a cinnamon stick garnish for Instagram-worthy presentation.
- Extra Indulgence: Add a caramel swirl between the layers for extra richness.
Serving Ideas
These cheesecake cups are fantastic for:
- Thanksgiving desserts – A lighter alternative to traditional pumpkin pie.
- Fall parties – Easy to transport and serve.
- Weeknight treats – Quick enough for a cozy evening indulgence.
Final Thoughts
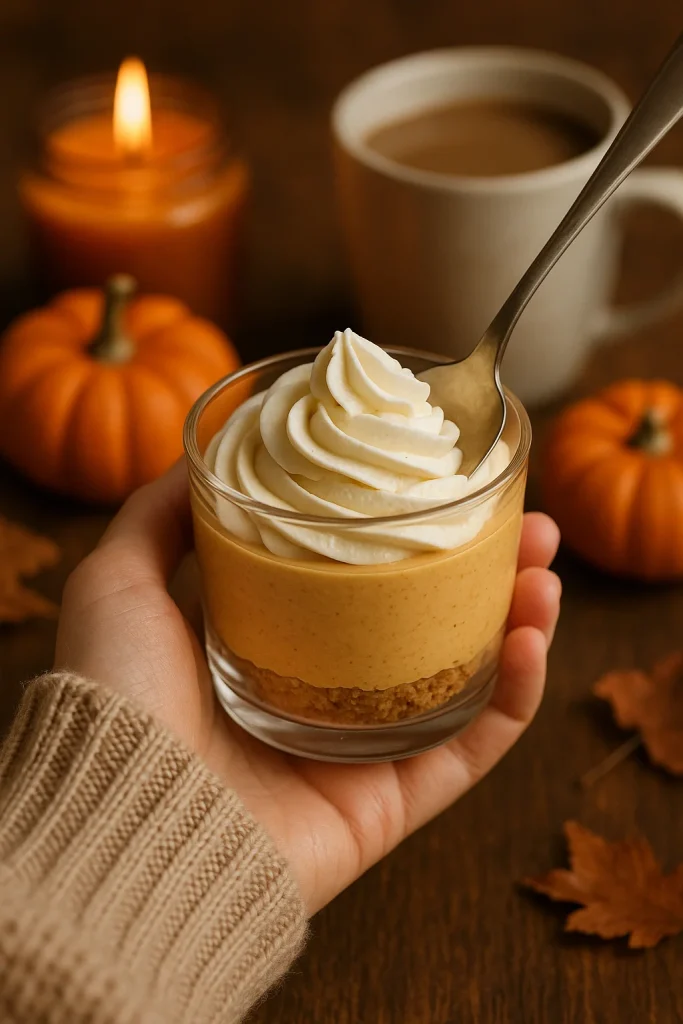
These No-Bake Pumpkin Cheesecake Cups combine the best of fall in every spoonful—creamy cheesecake, spiced pumpkin, and a buttery cookie crunch. They’re effortless, festive, and guaranteed to impress your family and friends this season.
So grab your pumpkin puree, cozy up in the kitchen, and enjoy making this delightful autumn dessert.
Getting the Smoothest Filling Without Baking
A silky filling starts before anything is mixed. The cream cheese should be properly soft, because cold cream cheese beaten with other ingredients tends to stay in small lumps that no amount of extra mixing fully removes. Beat it on its own first, until it looks smooth and spreadable, and scrape down the sides of the bowl so every part gets the same treatment.
Add the other filling ingredients gradually, mixing well between additions, and keep the speed moderate rather than frantic. Very fast beating can whip in too much air, which makes the set filling less clean when you spoon into it. A final stir by hand with a spatula is a good habit: it catches any streaks hiding at the bottom of the bowl and gives you one last look at the texture before the cups are filled.
Crumb Base Ideas Beyond Graham Crackers
Graham crackers are the classic base, but almost any dry, crisp cookie or biscuit can be crushed into a crumb base. Gingersnaps bring their own warm spice, which sits naturally beside pumpkin. Vanilla wafers give a milder, sweeter base, shortbread makes a richer and more buttery one, and chocolate sandwich cookies turn the cups into something deeper and more dessert-like.
Whatever you choose, the method stays the same: crush to fine, even crumbs, mix with melted butter until the texture resembles damp sand, and press firmly into the cups. Very sweet or rich cookies may need no extra sugar at all, so taste the crumbs before adding any. A base made from what is already in the pantry also keeps the recipe budget-friendly.
Why Chilling Matters for No-Bake Desserts
With no oven involved, the fridge does the setting work in a no-bake dessert. As the cups chill, the butter in the crumb base firms up again and holds the base together, while the cream cheese filling loses its soft, freshly mixed looseness and becomes sliceable and spoonable in a clean way. The whipped topping also holds its shape better once everything is properly cold.
Chilling also improves the flavor. Spices have time to mingle with the pumpkin and cream cheese, so the cups taste warmer and more rounded than they do straight from the bowl. Give the cups their full chill rather than rushing them, keep them covered so the tops do not dry out or pick up fridge smells, and add any crunchy garnish at serving time so it stays crisp.
Troubleshooting: Runny Filling or a Soggy Base
If the filling stays runny, the cause is usually moisture or temperature. Pumpkin puree varies in wetness, and an especially watery batch can loosen the whole filling; letting it sit briefly and spooning off any liquid that pools on top, or gently folding the excess away, helps. Cream cheese that was still cold in the middle also mixes unevenly and sets poorly, and whipped cream folded in while it is too soft will not hold the structure it should.
A soggy base usually means the crumbs were not pressed firmly enough, or the filling sat on the base for a long time before chilling. Press the crumbs in with the back of a spoon so the layer is compact, chill the bases briefly before filling if your kitchen is warm, and remember that a longer chill firms everything up. Add whipped topping close to serving time rather than hours ahead.
Dressing Up the Cups for Guests
Individual cups already feel like a treat, and a few small touches make them look celebration-ready. Clear glasses or small jars show off the layers, which is half the charm of this dessert, so wipe the insides clean above the filling line before the cups go into the fridge. Matching spoons, and a tray to carry and serve them on, make the whole thing feel planned rather than improvised.
For the tops, pipe the whipped cream in a swirl if you have a piping bag, or spoon it on and lift it into soft peaks with the back of the spoon. Finish with something simple: a dusting of cinnamon or pumpkin spice, a sprinkle of extra crumbs, or a thin drizzle of caramel. Add the garnish at the last minute, line the cups up so guests can help themselves, and let the dessert do the rest.
Making the Cups Ahead for a Party
These cups are an ideal make-ahead dessert, because the chilling they need anyway doubles as storage. Assemble the bases and filling ahead of time, cover the cups, and keep them in the fridge until you are ready to serve. Working in an assembly line makes a big batch feel easy: all the bases first, then all the filling, then lids or wrap on every cup.
Hold back the finishing touches until close to serving. Whipped cream is at its best freshly added, and crunchy garnishes soften if they sit on the filling for hours. If the cups need to travel, choose jars with lids or sturdy cups packed snugly in a tray so they cannot slide around, and keep them level and cold on the way. Once they are out, they are happiest eaten before they sit around in a warm room for too long.
Choosing Cups, Jars and Glasses for Serving
The container does more work than it gets credit for in a layered cup dessert. Straight-sided glasses or jars show the layers at their best, and a wide opening makes spooning and piping the filling neat instead of messy. Choose the size with appetites in mind: this is a rich dessert, so modest cups satisfy most guests, and smaller portions also stretch a batch further, which helps the budget.
Use what you already own before buying anything new. A mixed set of small glasses, ramekins or jam jars looks charming rather than mismatched, especially once the desserts are lined up together. If cups will travel or stack in a crowded fridge, lidded jars are the practical pick. Whatever you choose, leave a little headroom at the top so the whipped cream has space to sit proudly.


