
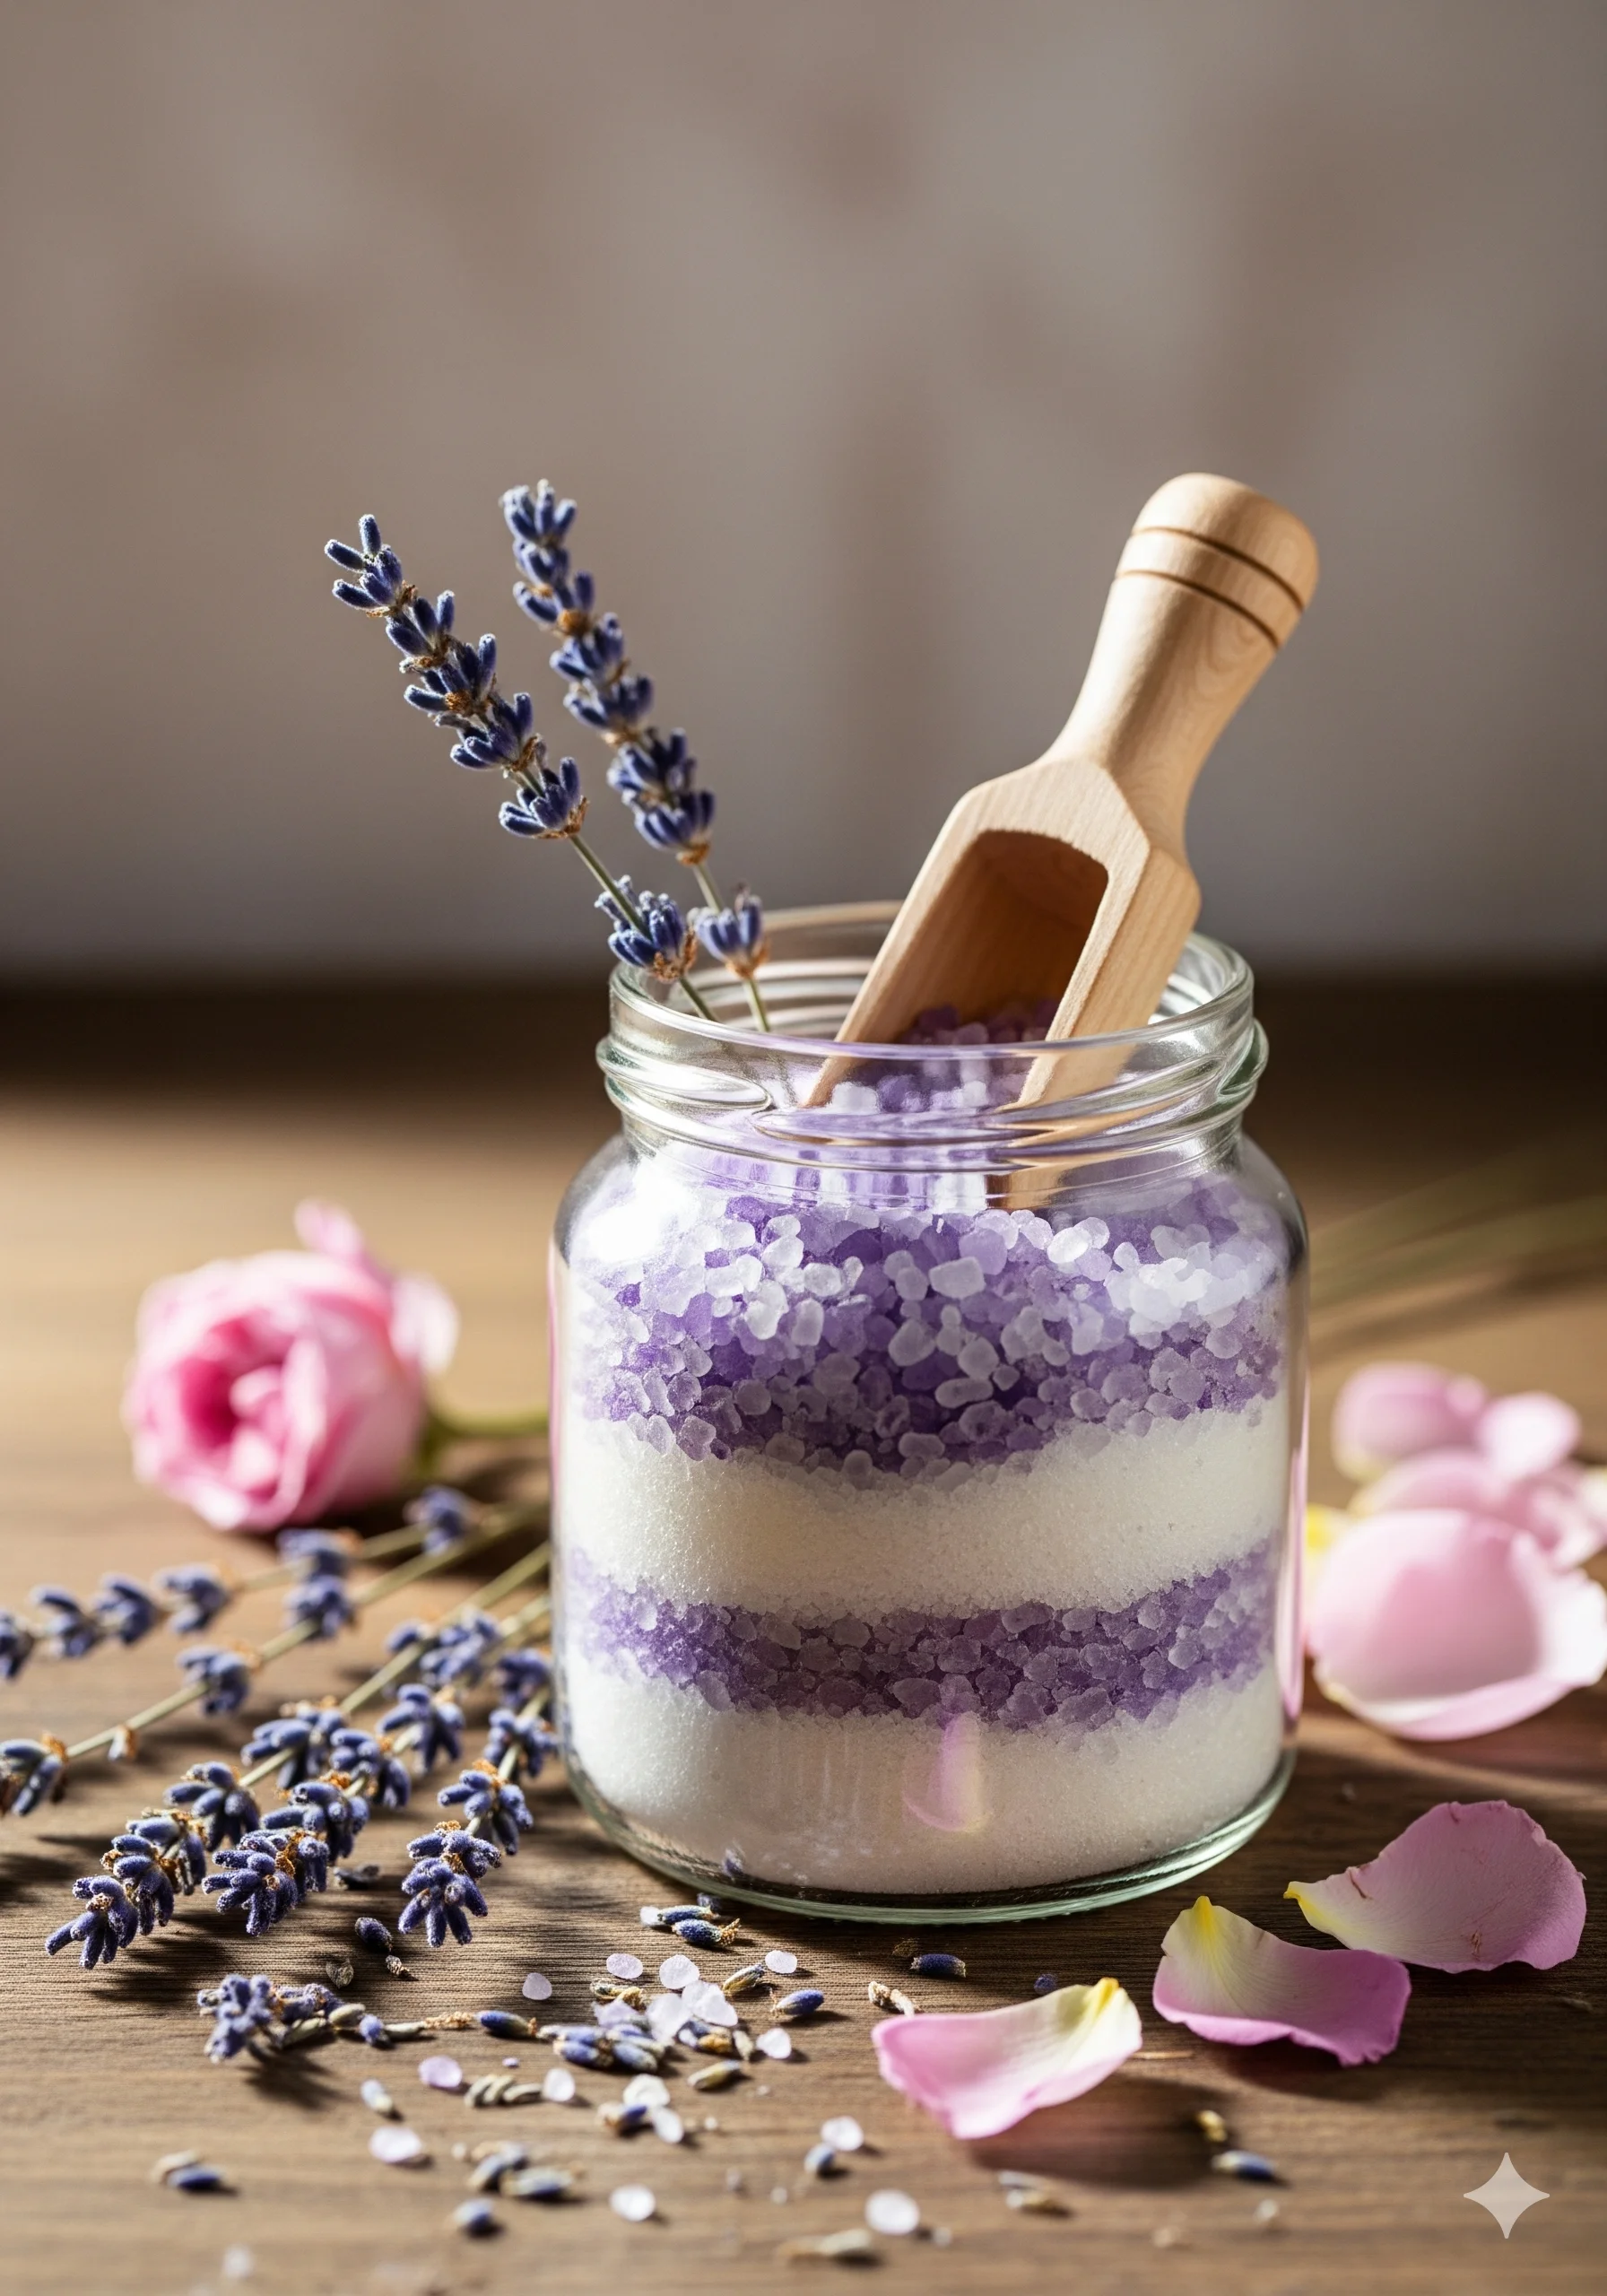
How to Make Homemade Bath Salts: Relaxing DIY Recipe with Epsom Salt Benefits
There’s nothing more rejuvenating than slipping into a warm bath after a long day, especially when that bath is infused with soothing salts and calming aromas. With just a few natural ingredients, you can learn how to make homemade bath salts that transform your bathroom into a personal spa. Not only are DIY bath salts cost-effective and customizable, but they also provide a range of wellness benefits thanks to the power of Epsom salt baths.
Whether you’re looking to relieve stress, ease sore muscles, or simply add a touch of luxury to your bathroom routine, this guide will show you everything you need to know.
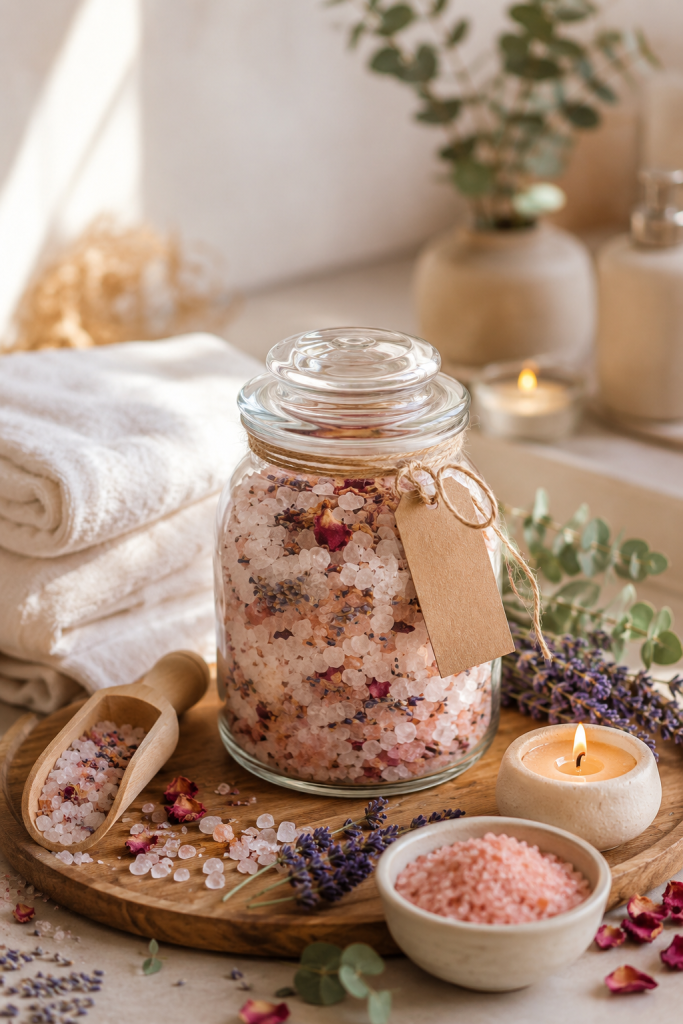
Why Make Homemade Bath Salts?
Bath salts have been used for centuries for relaxation and healing. Store-bought versions can be expensive and often contain synthetic fragrances or unnecessary additives. Making your own allows you to:
- Budget-friendly: A big batch costs just a fraction of what spa brands charge.
- Customizable: Choose your favorite essential oils, flowers, or carrier oils.
- Health-conscious: No harsh chemicals, dyes, or synthetic fragrances.
- Decorative: Stored in pretty jars, they double as stylish bathroom décor.
- Gift-worthy: Perfect for birthdays, holidays, or even wedding favors.
Adding bath salts to your bathroom routine is a simple way to bring luxury and self-care into your home.
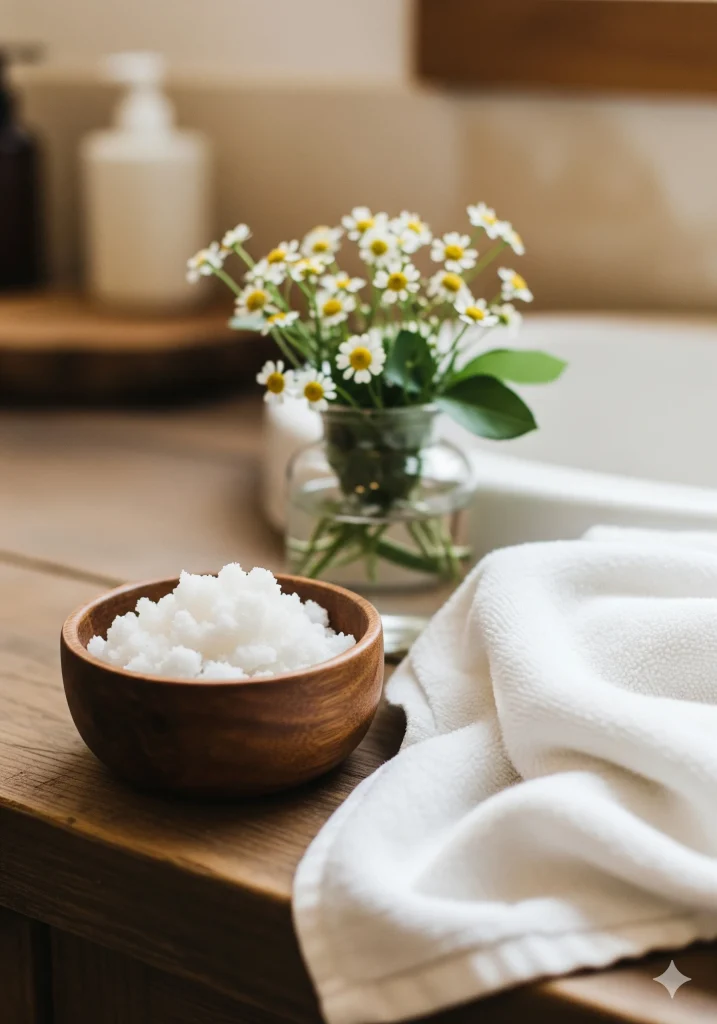
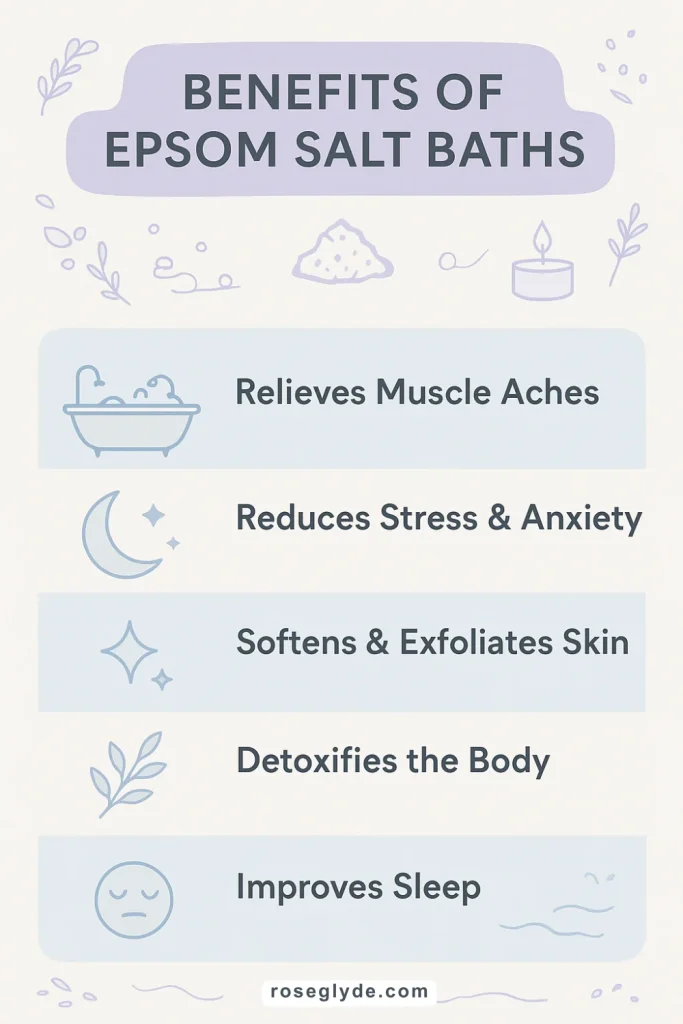
Benefits of Epsom Salt Baths
The main star of most bath salt recipes is Epsom salt (magnesium sulfate). This mineral compound is a true multitasker for both body and mind. Here’s a closer look at why Epsom salt baths are worth your time:
1. Relieves Aches and Pains
Soaking in an Epsom salt bath allows magnesium to be absorbed through the skin, which can ease muscle cramps, reduce inflammation, and help joints feel more flexible. Athletes often swear by it for post-workout recovery.
2. Reduces Stress and Anxiety
Magnesium plays a crucial role in regulating stress and supporting better sleep. A warm soak enriched with Epsom salts and calming essential oils like lavender can mimic a spa-level stress relief treatment.
3. Softens and Exfoliates Skin
The natural granules of Epsom salt gently exfoliate, sloughing off dead skin cells. Paired with baking soda and carrier oils, your skin will feel noticeably softer and refreshed.
4. Promotes Detoxification
Warm water opens pores, and Epsom salt encourages the release of toxins. While it’s not a medical detox, many people find it helps them feel lighter and more energized.
5. Supports Better Sleep
If you struggle with insomnia or restless nights, soaking in a magnesium-rich Epsom salt bath an hour before bed can help signal to your body that it’s time to rest.
DIY Bath Salt Recipe
Here’s a simple and customizable homemade bath salt recipe you can try today:
Ingredients:
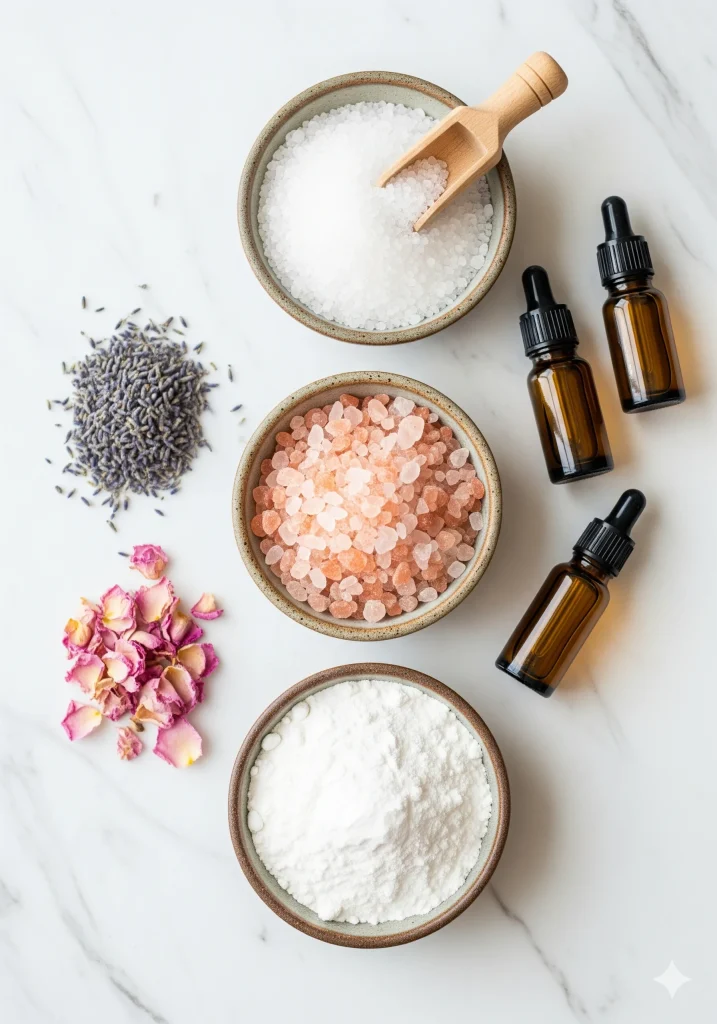
- 2 cups Epsom salt
- ½ cup sea salt or Himalayan pink salt
- ½ cup baking soda (softens water and skin)
- 10–15 drops essential oils (lavender, eucalyptus, peppermint, or chamomile are great options)
- 2 tablespoons carrier oil (such as coconut, almond, or jojoba oil)
- Optional: dried flowers (rose petals, lavender buds, or chamomile)
Instructions:
- In a large mixing bowl, combine the Epsom salt, sea salt, and baking soda.
- Add your chosen carrier oil and mix well.
- Drop in your favorite essential oils and stir until evenly distributed.
- If desired, add dried flowers for a beautiful, spa-like touch.
- Store your homemade bath salts in an airtight glass jar.
How to Use Bath Salts
- Using your bath salts is as simple as pouring them into the tub, but a few tips can enhance the experience:
- Add ½ to 1 cup of bath salts to warm running water.
- Let the salts fully dissolve before soaking.
- Soak for 20 minutes for maximum benefits.
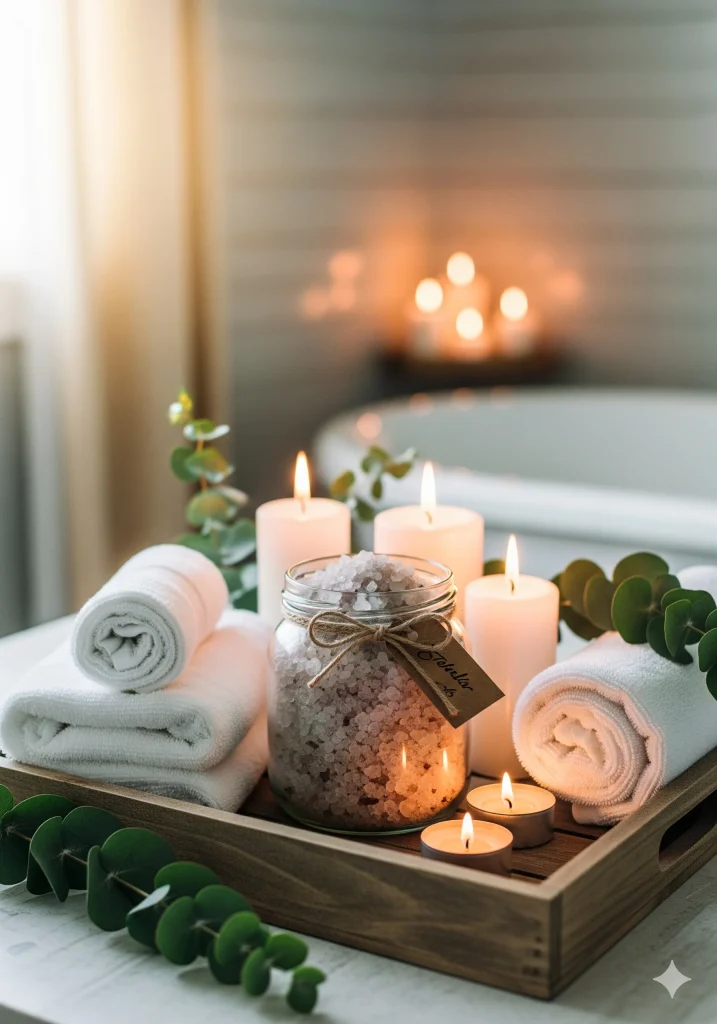
- For aromatherapy, combine your soak with candles or a diffuser in your bathroom.
Creative Variations and Ideas
Bath salts don’t have to be one-size-fits-all. Experiment with different blends to suit your mood:
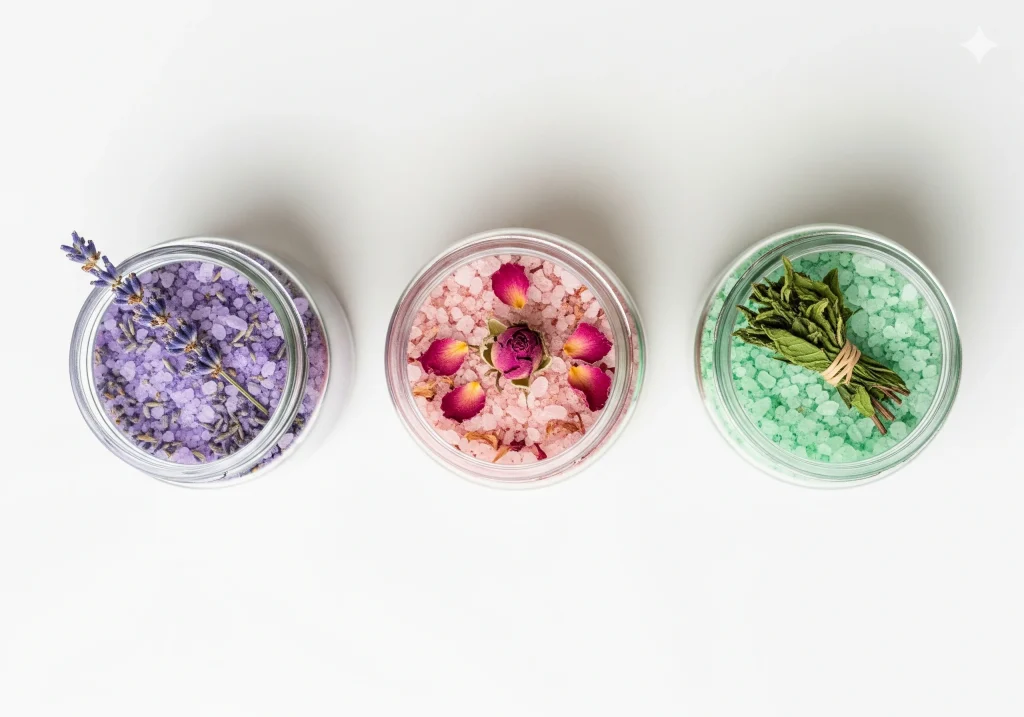
- Relaxing Blend: Lavender + chamomile + rose petals.
- Energizing Blend: Peppermint + eucalyptus for a morning boost.
- Romantic Blend: Rose oil + dried roses + sandalwood.
- Detox Blend: Lemon + tea tree + Himalayan pink salt.
By keeping a few different jars in your bathroom, you can pick the perfect soak for the moment.
Storing and Styling Bath Salts
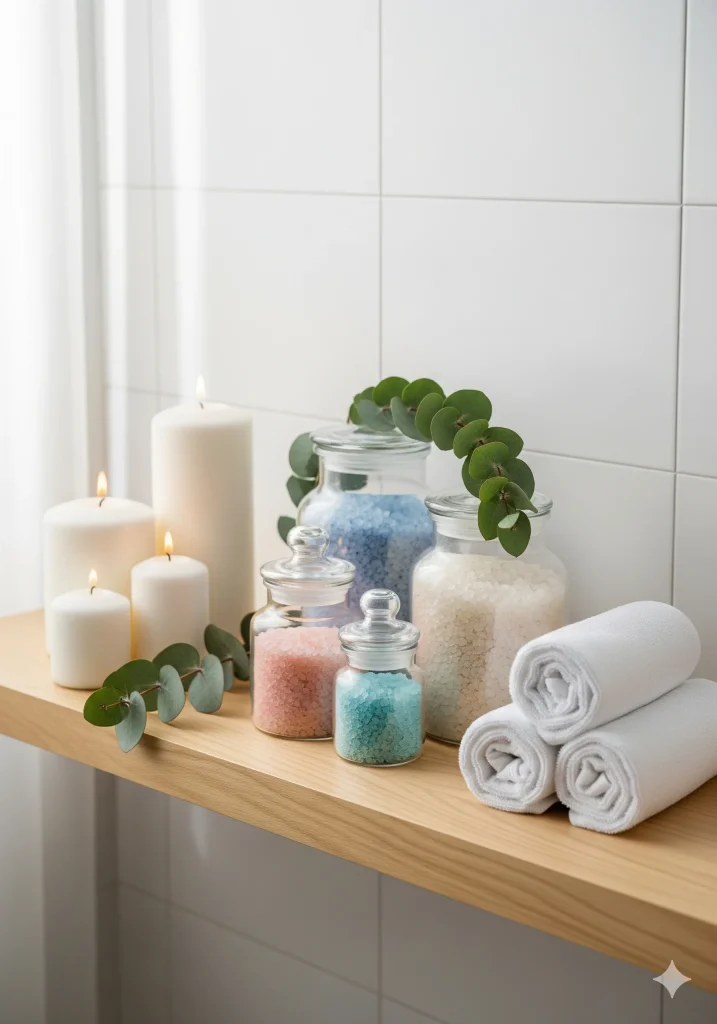
Bath salts can be part of your bathroom décor as much as your self-care. Clear apothecary jars or mason jars look gorgeous displayed on open shelves or vanities. For a farmhouse-style bathroom, try rustic wooden scoops; for a modern spa look, choose minimalist glass jars.
They also make thoughtful DIY gifts. Package small batches in labeled jars or kraft bags, tie with twine or ribbon, and add a handwritten tag. These are great for bridal showers, birthdays, or holiday gift baskets.
Extra Bathroom Rituals with Bath Salts
Bath salts aren’t just for long soaks—they can elevate other parts of your bathroom routine:
- Foot Soak: Add a handful to a basin of warm water for a mini spa pedicure.
- Shower Steam: Place a small jar near your shower for a quick hit of aromatherapy.
- Body Scrub: Mix salts with coconut oil for a DIY exfoliating scrub.
Adding these little rituals makes your bathroom feel like a personal retreat.
Final Thoughts
Learning how to make homemade bath salts is an easy and enjoyable way to add relaxation, beauty, and wellness into your life. With the powerful benefits of Epsom salt baths, you can relieve stress, soothe your body, and create a calming spa-like environment right in your bathroom.
So, gather your ingredients, customize your favorite blends, and treat yourself to a little luxury every time you step into your bath.
What Each Ingredient Does
Each part of the basic recipe plays a different role in the mix. The Epsom salt forms the mineral base of the blend and gives the salts their classic crystalline texture. Baking soda softens the feel of the mixture and helps it disperse through the bath water. A small amount of carrier oil helps the blend hold together and carries the fragrance through the mix.
Essential oils provide the scent, and dried petals or herbs are there mainly for color and a finishing visual touch. Understanding which ingredient does what makes it easier to adjust a batch sensibly, for example by changing only the fragrance while keeping the base exactly as the recipe sets it out.
Blending Scents Without Overpowering
A balanced scent starts with restraint. Build a blend around one main fragrance, then support it with a softer second note rather than several strong ones competing. Citrus and herbal scents tend to smell bright and clean, florals read as classic and gentle, and woody or spicy notes bring warmth that suits evening baths.
Mix the dry ingredients first and add fragrance a little at a time, stirring well and smelling the blend between additions, because scent strengthens as it settles through the salts. If a batch ends up stronger than planned, plain unscented salts from the same base recipe can be folded in to soften it. Keep notes on blends you enjoy so favorites are easy to repeat.
Troubleshooting: Damp, Clumpy or Fading Bath Salts
Bath salts absorb moisture from the air, and that is the usual cause of clumps. Break up small clumps with a fork or spoon, and spread a damp batch on a clean tray in a dry room until it feels loose again before returning it to its jar. Salts that stay damp often trace back to storage near steam or a lid left open.
Fading scent usually means air and light have had their way with the blend. Storing salts in a sealed, dark container helps fragrance last, and keeping the jar away from the steamy side of the bathroom helps too. If colors from petals fade, the salts remain perfectly usable; appearance changes faster than the base blend itself.
Packaging Bath Salts as Gifts
Homemade bath salts make thoughtful gifts, and simple packaging suits them best. Clean glass jars with tight lids show off the layers and colors, and a small scoop or wooden spoon tied on with twine adds a useful finishing touch. A handwritten label with the scent name and the date the batch was made keeps everything clear.
Fill jars once the blend is fully dry, leave a little headspace so the contents can be scooped easily, and store finished gifts in a cool, dry place until they are given.
A small card noting the scent and a simple line about keeping the jar sealed and dry helps the recipient enjoy the gift at its best.
Simple Habits for Consistent Batches
Small habits keep batches consistent from one making session to the next. Start with clean, completely dry bowls, spoons and jars, since stray water is the fastest route to clumps. Measure the base the same way each time, and stir a little longer than feels necessary so fragrance and color spread evenly. Let a finished blend rest overnight before judging the scent.


